Create and Manage Announcements
>
Email notifications for announcements are a Pro plan feature — Upgrade to Pro to send announcements via email.
Let your customers know about pre-orders, new stock, events, and menu updates with announcements that show up as banners on your website and (on Pro) as emails to your subscribers.
Overview
Announcements are a great way to get the word out when you have something exciting to share — whether you're opening pre-orders for this weekend's bake, announcing fresh stock at your farmstand, or promoting an upcoming market appearance. You can display a banner right on your website, and if you're on the Pro plan, send an email blast to your subscribers too.
Steps
1. Go to the Announcements page
Direct link: Open this page
From your admin sidebar, click Marketing, then Announcements.
You'll see four tabs to organize your announcements:
- Active — announcements currently live on your site
- Scheduled — announcements set to go live at a future date
- Drafts — announcements you've started but haven't published yet
- Past — announcements that have ended
2. Start a new announcement
Click the + New Announcement button in the top right corner. This opens a 5-step wizard that walks you through everything.
3. Choose your announcement type (Step 1)
Pick the type that best fits what you're announcing:
- Pre-Orders — Let customers pre-order items before a bake day
- Event — Promote an upcoming market, fair, or event appearance
- Menu Update — Announce menu changes, new items, or seasonal offerings
- Custom — Create a fully custom announcement with your own content
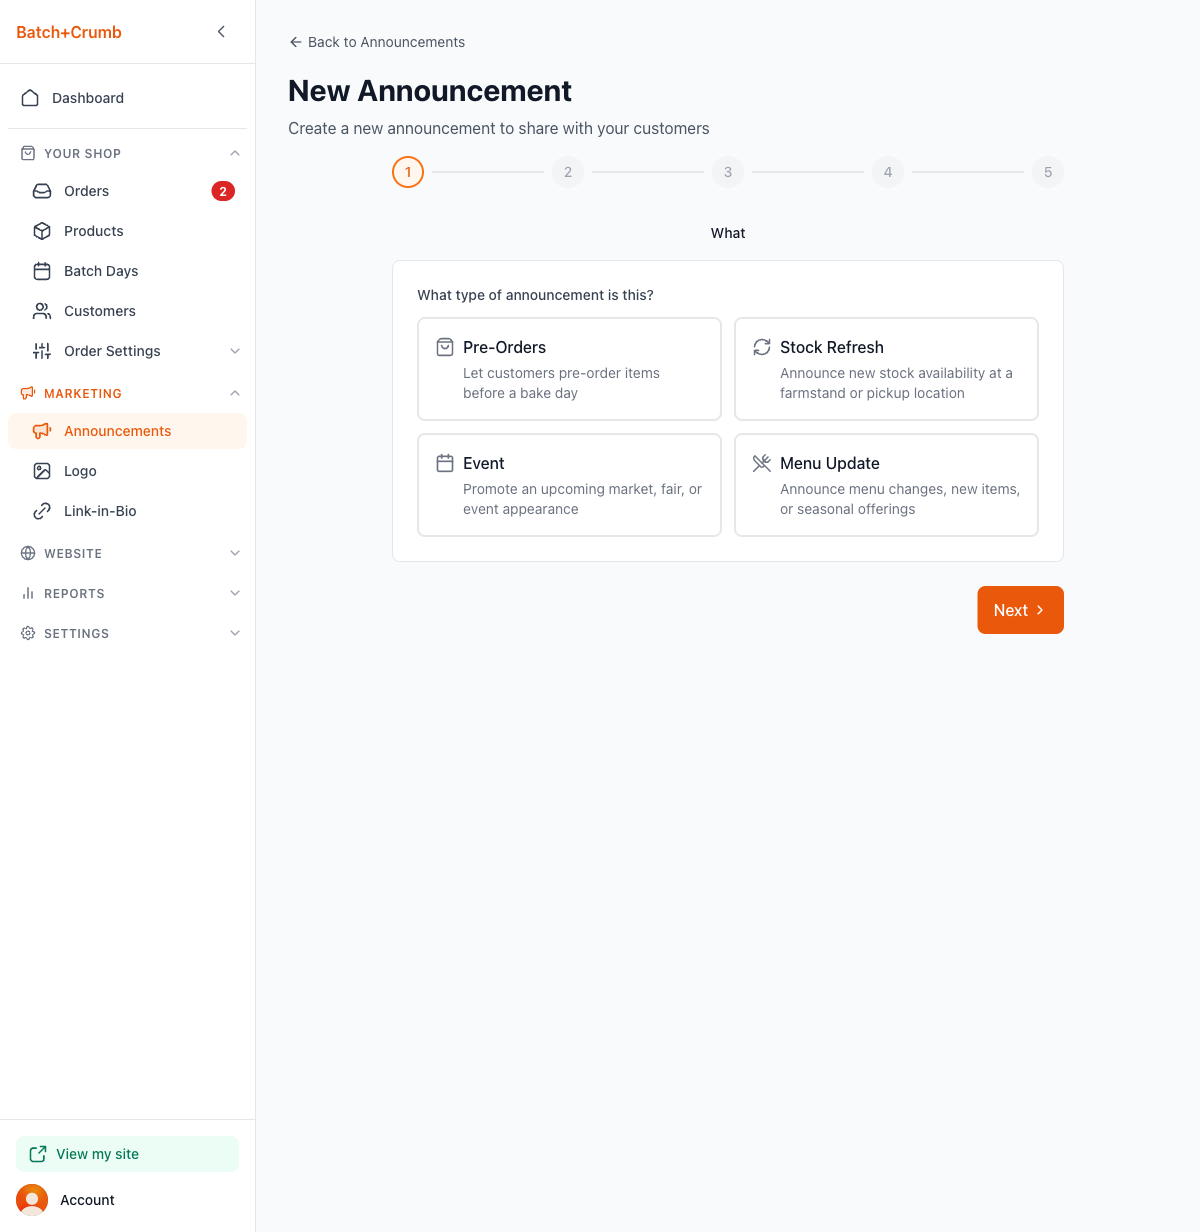
The type you choose helps Batch52 auto-generate a headline and message for you (you can always customize it later).
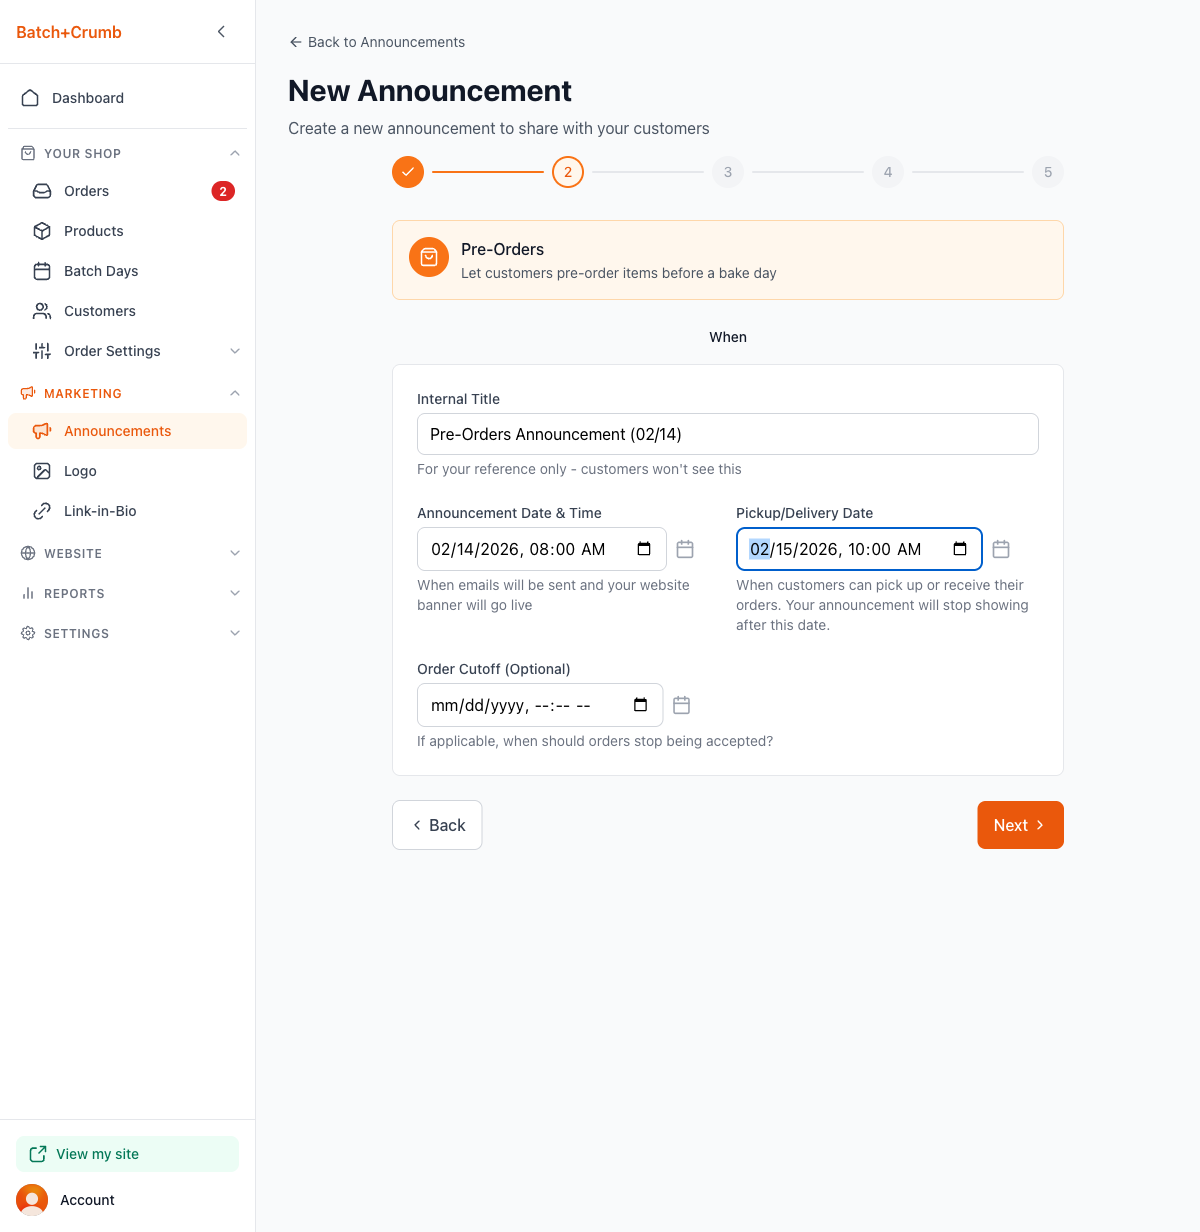
4. Set the timing (Step 2)
Fill in when your announcement should go live and when it ends:
- Internal Title — Auto-generated for your reference (customers won't see this)
- Announcement Date & Time — When your banner goes live and emails get sent
- Pickup/Delivery Date — When customers can pick up or receive their orders. Your announcement stops showing after this date.
- Order Cutoff (optional) — When you want to stop accepting orders
5. Add your details (Step 3)
Customize what your announcement says:
- Link To — Where the button on your banner/email should go. Choose from quick links (Homepage, All Products) or enter a custom URL.
- Button Text — The text on your call-to-action button (default is "Order Now")
- Headline — A short, attention-grabbing headline. Batch52 fills this in based on your type (e.g., "Pre-Orders Now Open!"), but you can change it.
- Message Body — The main text of your announcement. This is auto-generated with your dates included, and you can edit it with bold, italic, underline, and links.
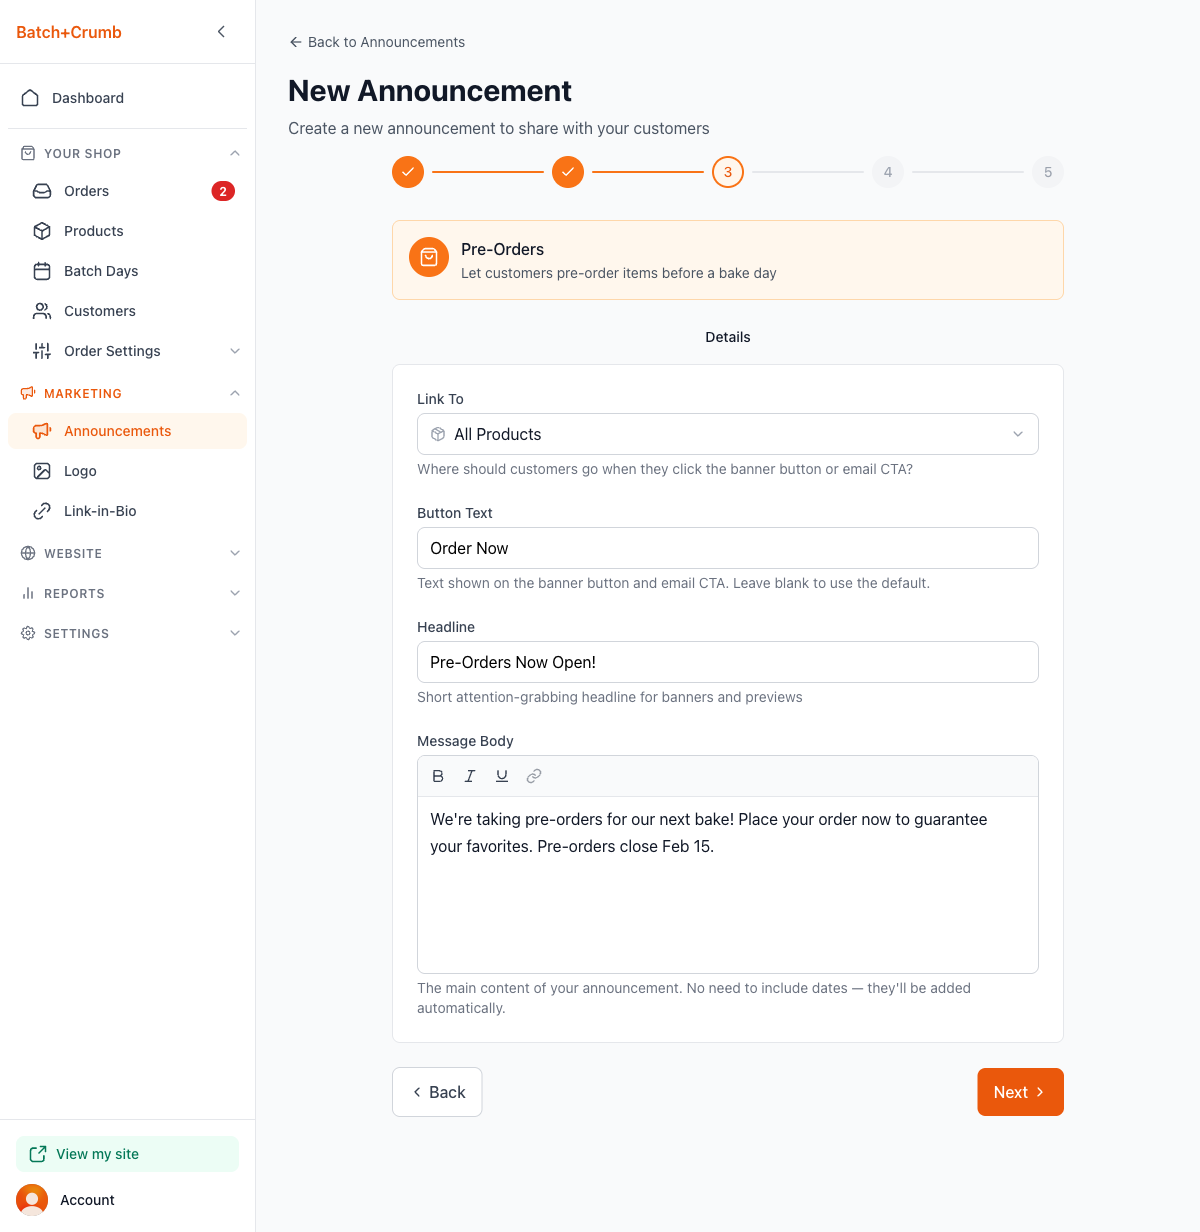
You don't need to type out your dates in the message — they're added automatically.
6. Choose your channels (Step 4)
Decide how you want to reach your customers:
- Website Banner — Toggle this on to display a banner at the top of your public site. You'll see a preview of how it looks.
- Email (Pro) — Toggle this on to send an email to your subscribers. You'll see how many subscribers will receive it, plus a preview of the email.
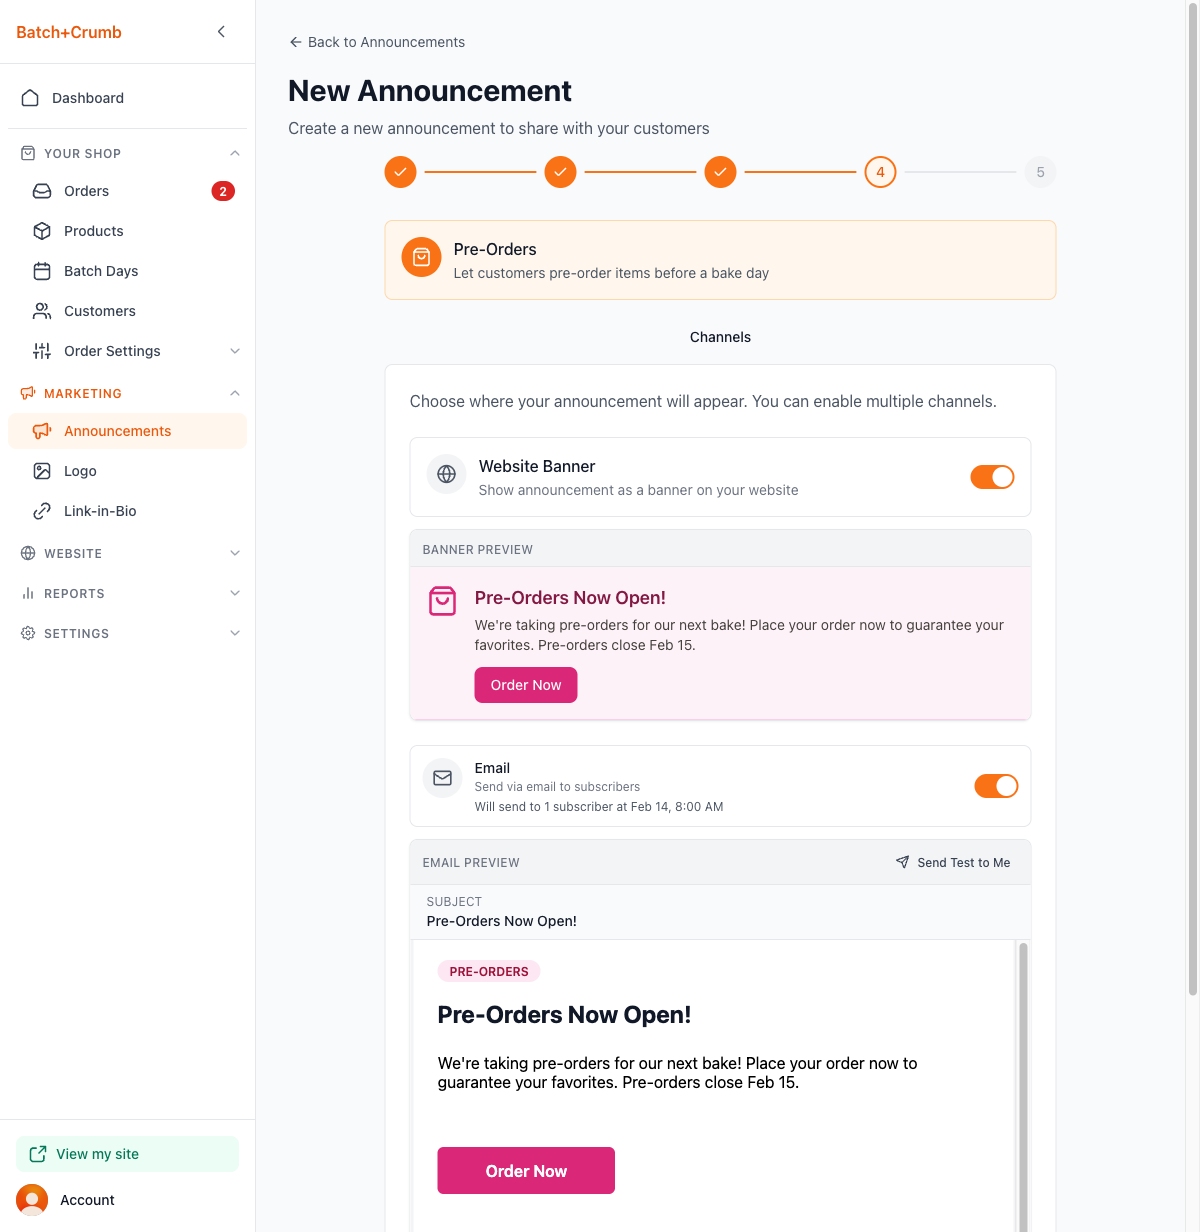
If you have Email enabled, you can click Send Test to Me to send a test email to yourself before going live — a great way to double-check everything looks right.
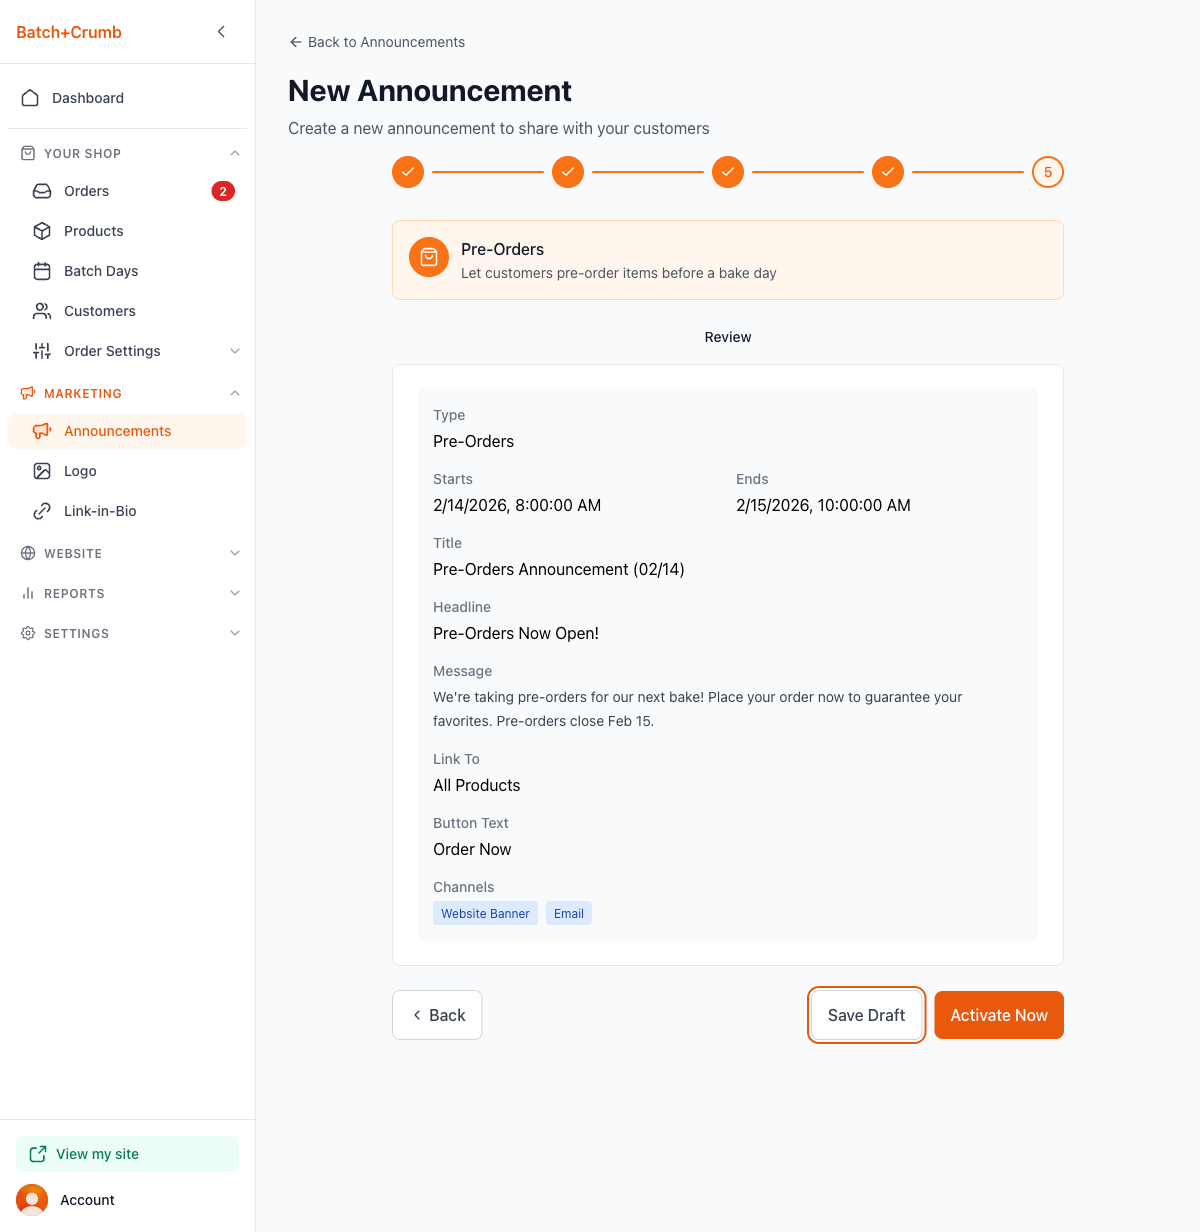
7. Review and publish (Step 5)
The final step shows a summary of everything — your type, dates, headline, message, link, and channels. Review it all, then choose:
- Save Draft — Save it for later without publishing
- Schedule It — If your announcement date is in the future, this schedules it to go live automatically
- Activate Now — If the date is now or in the past, this publishes immediately
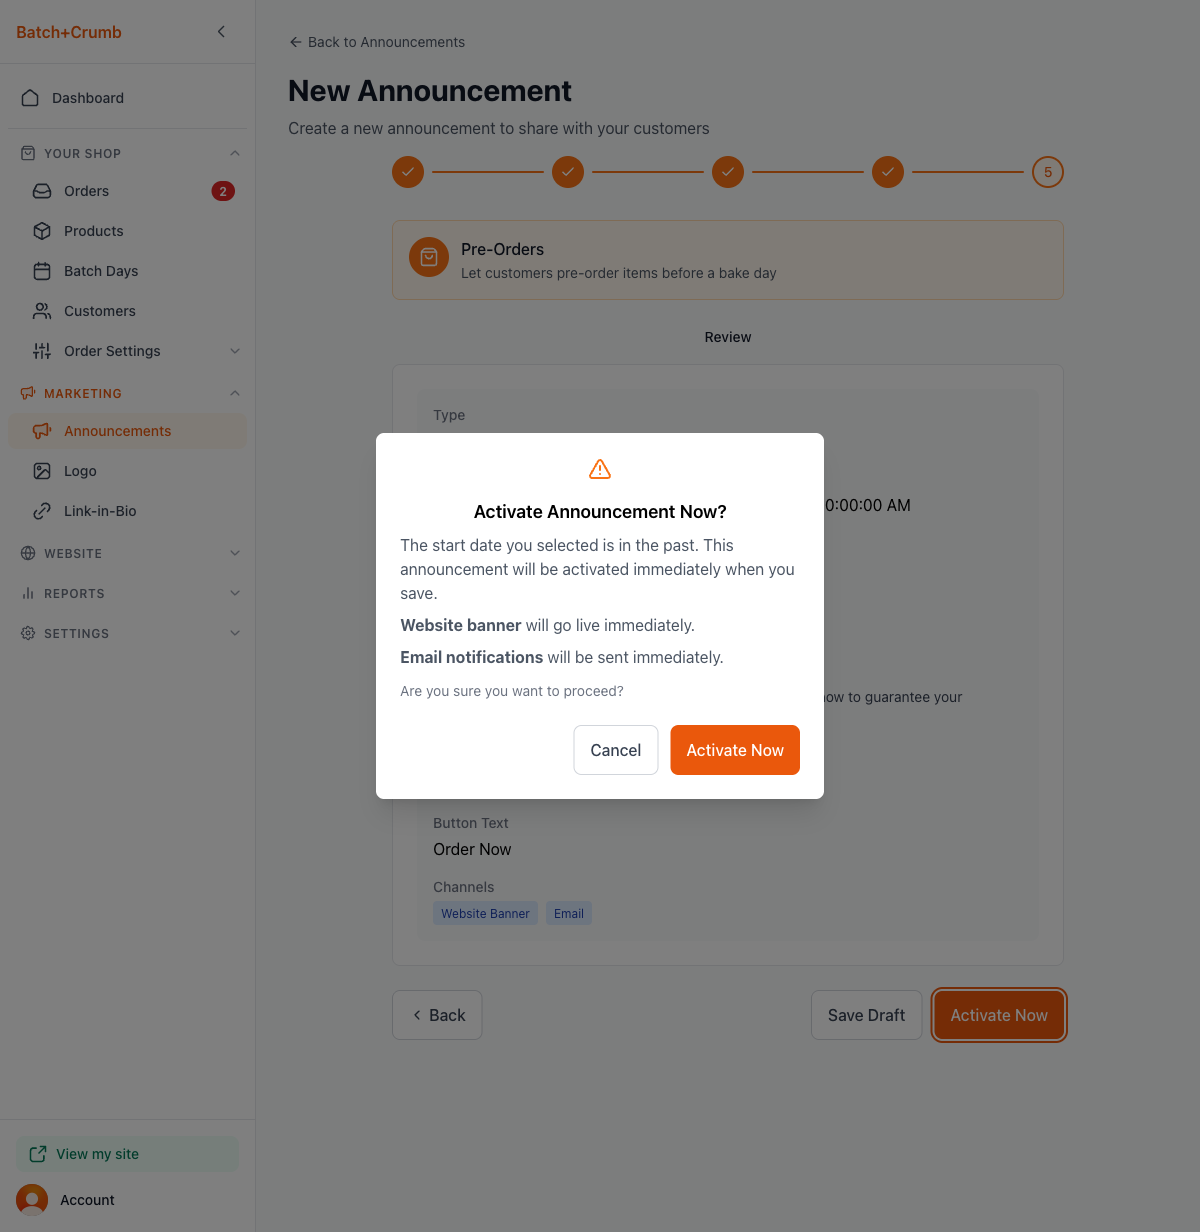
If you choose to activate immediately, you'll see a confirmation dialog letting you know the banner will go live and emails will be sent right away.
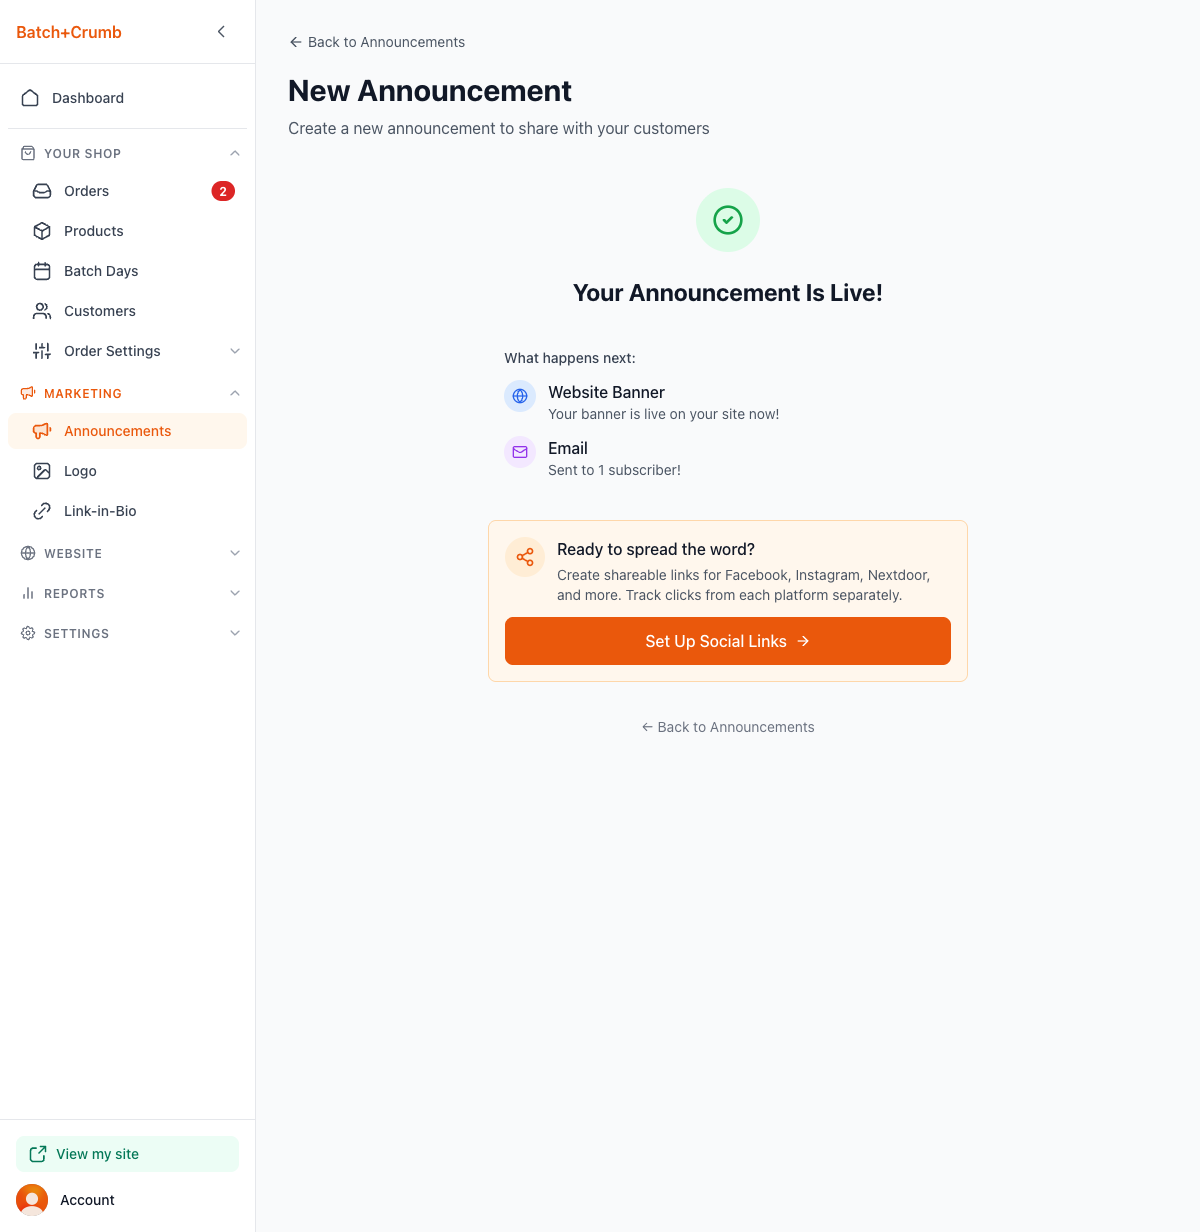
8. Your announcement is live!
After activating, you'll see a success page confirming everything is good to go:
- Your website banner is live on your site
- Your email has been sent to your subscribers
What your customers see
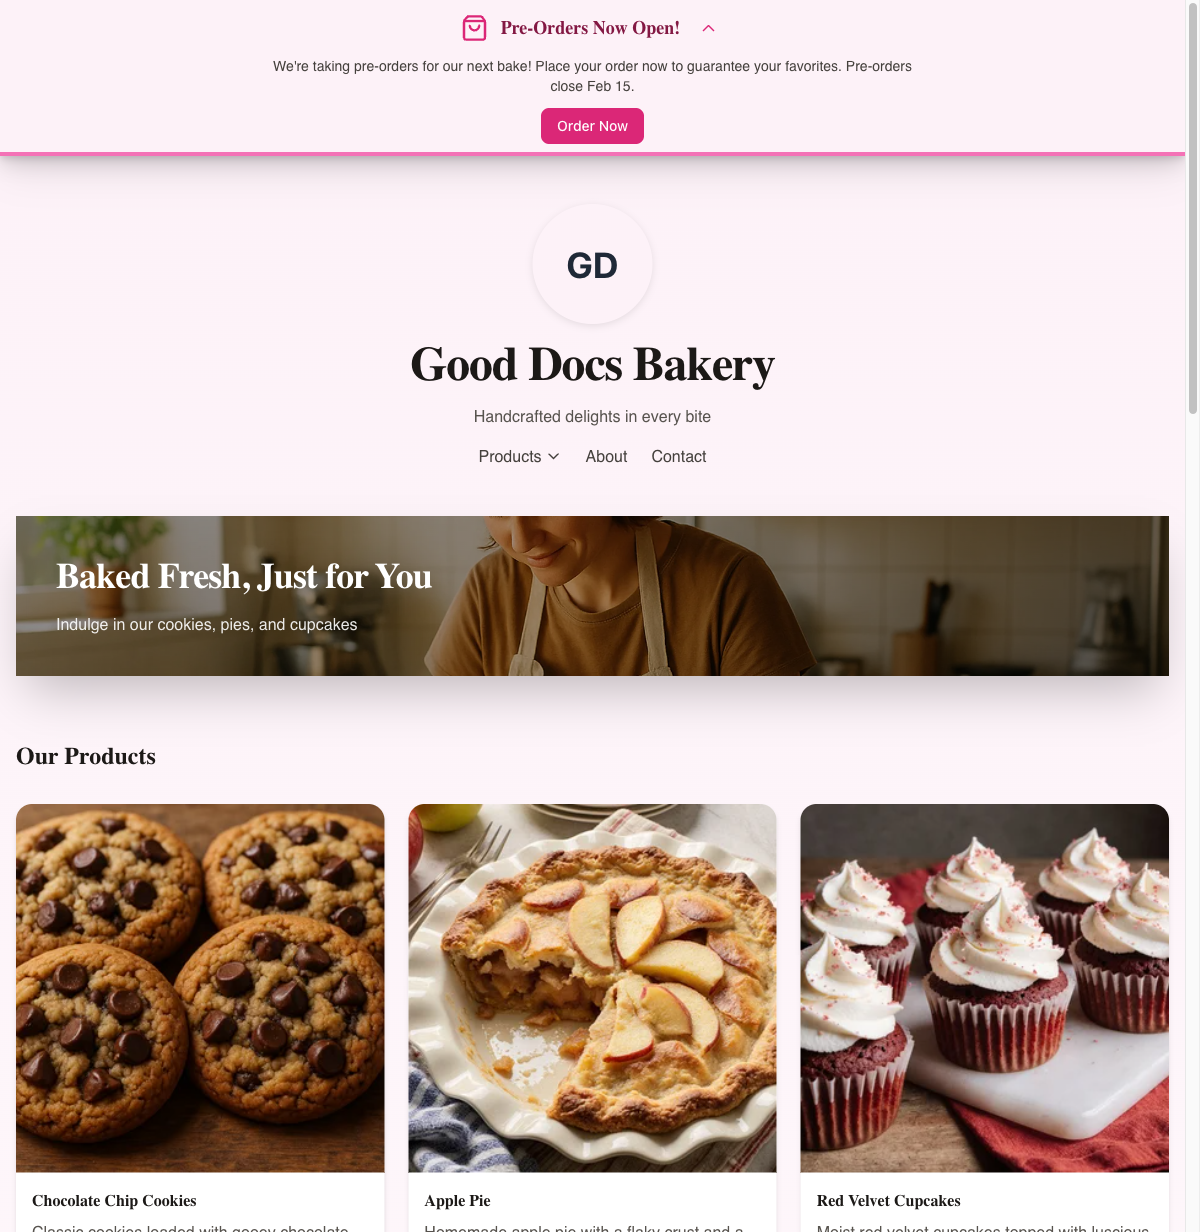
Website banner
A banner appears at the very top of your public site with your headline and a button linking to your products (or wherever you pointed it). Customers can expand or collapse the banner.
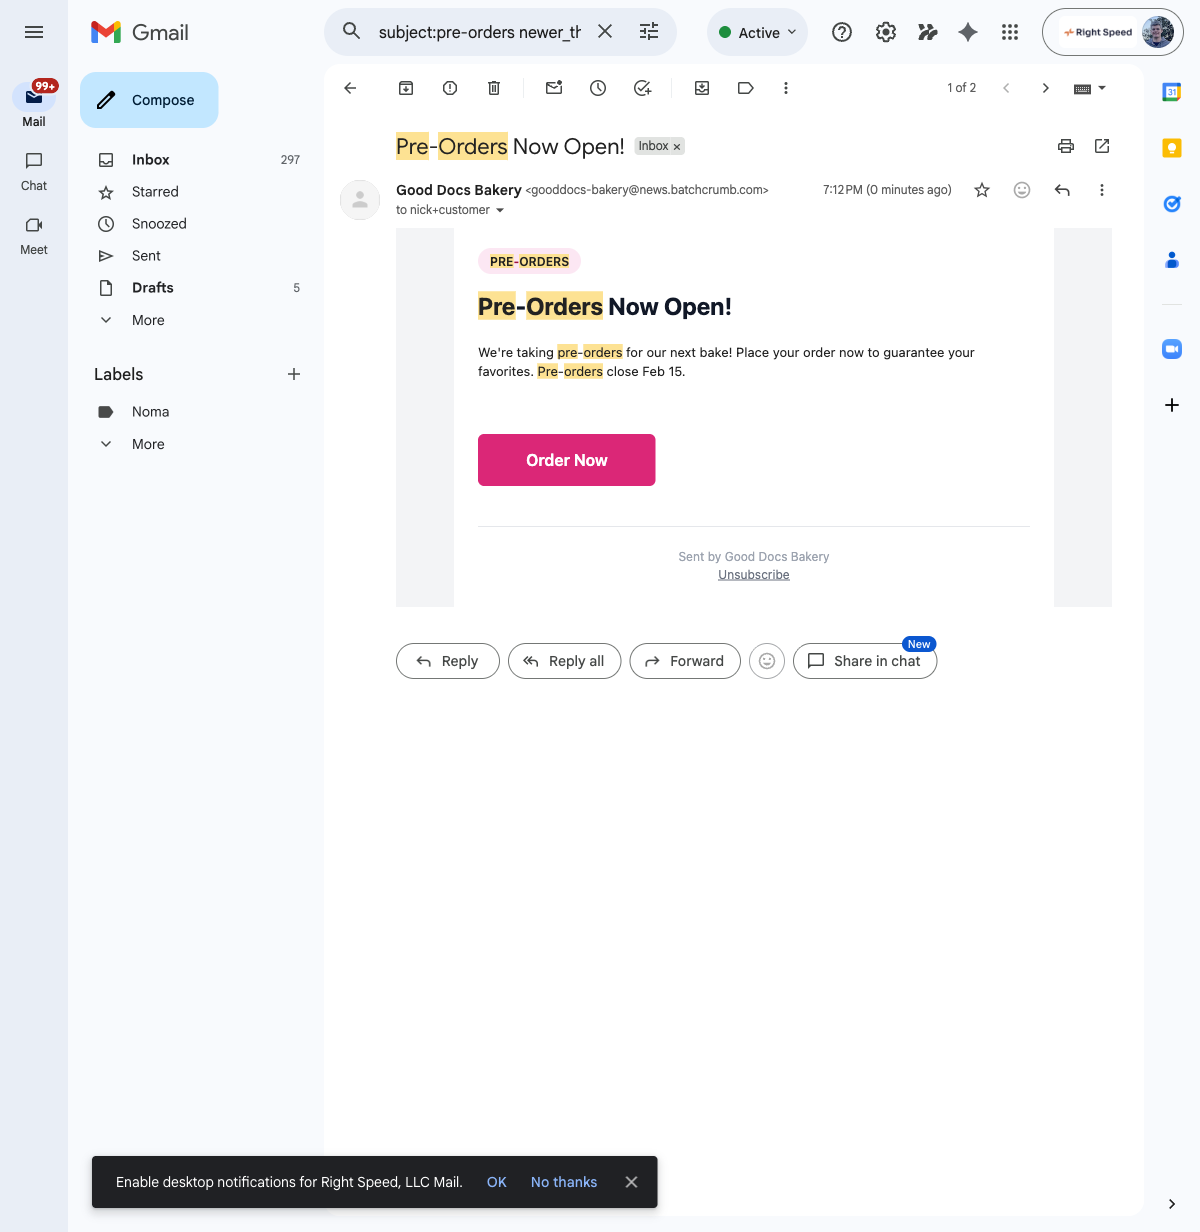
Announcement email
Subscribers receive a styled email with your announcement type badge, headline, message, and a call-to-action button. The email includes your business name and an unsubscribe link at the bottom.
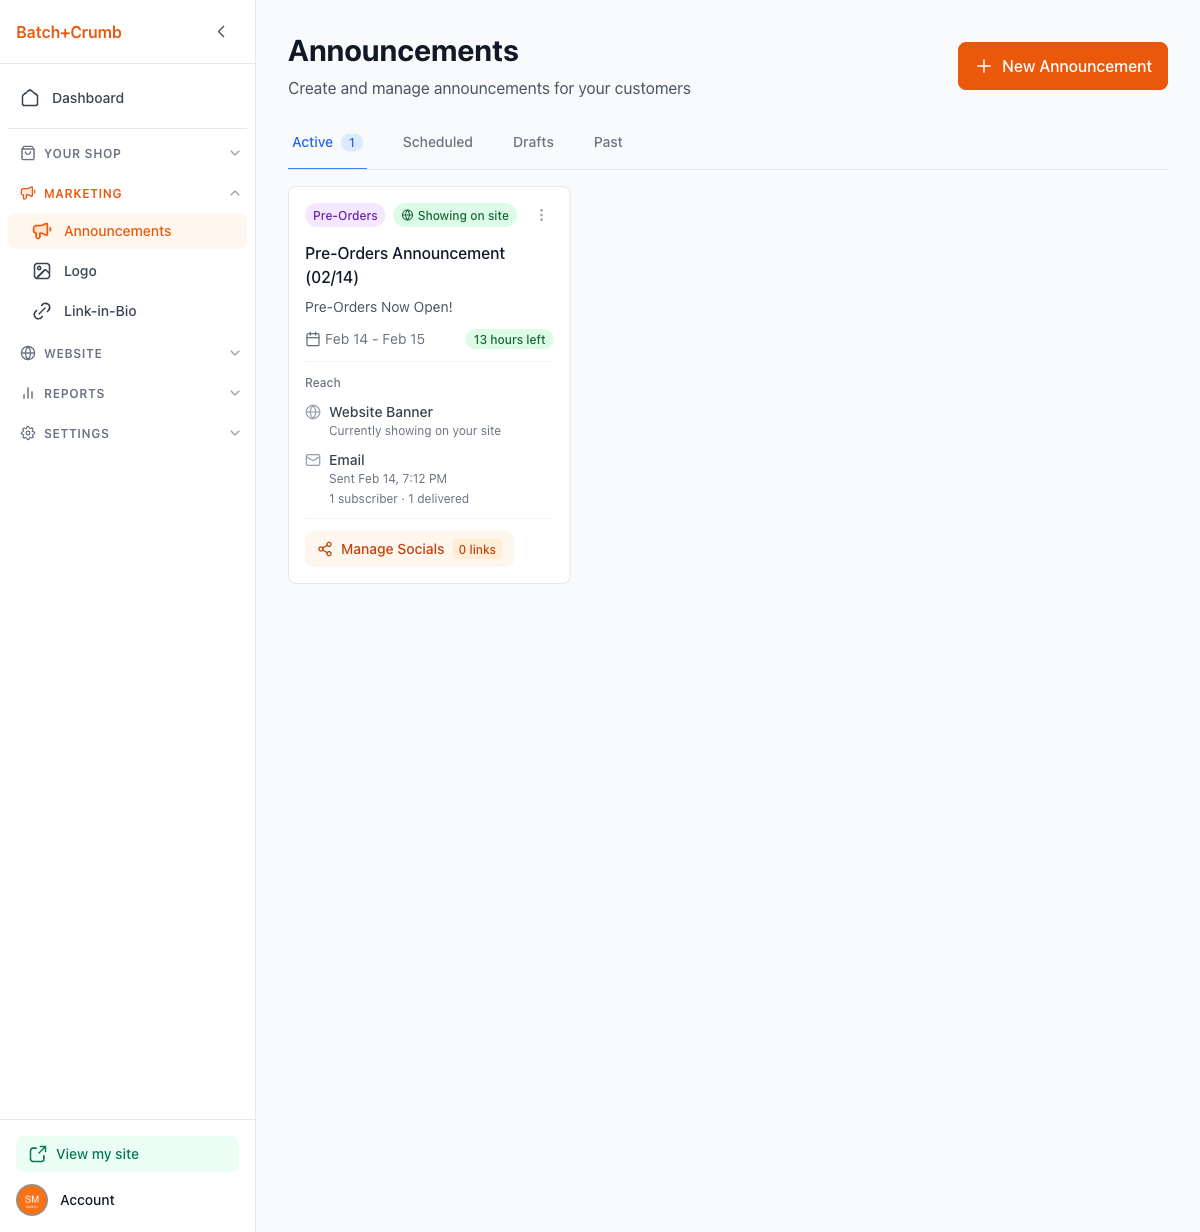
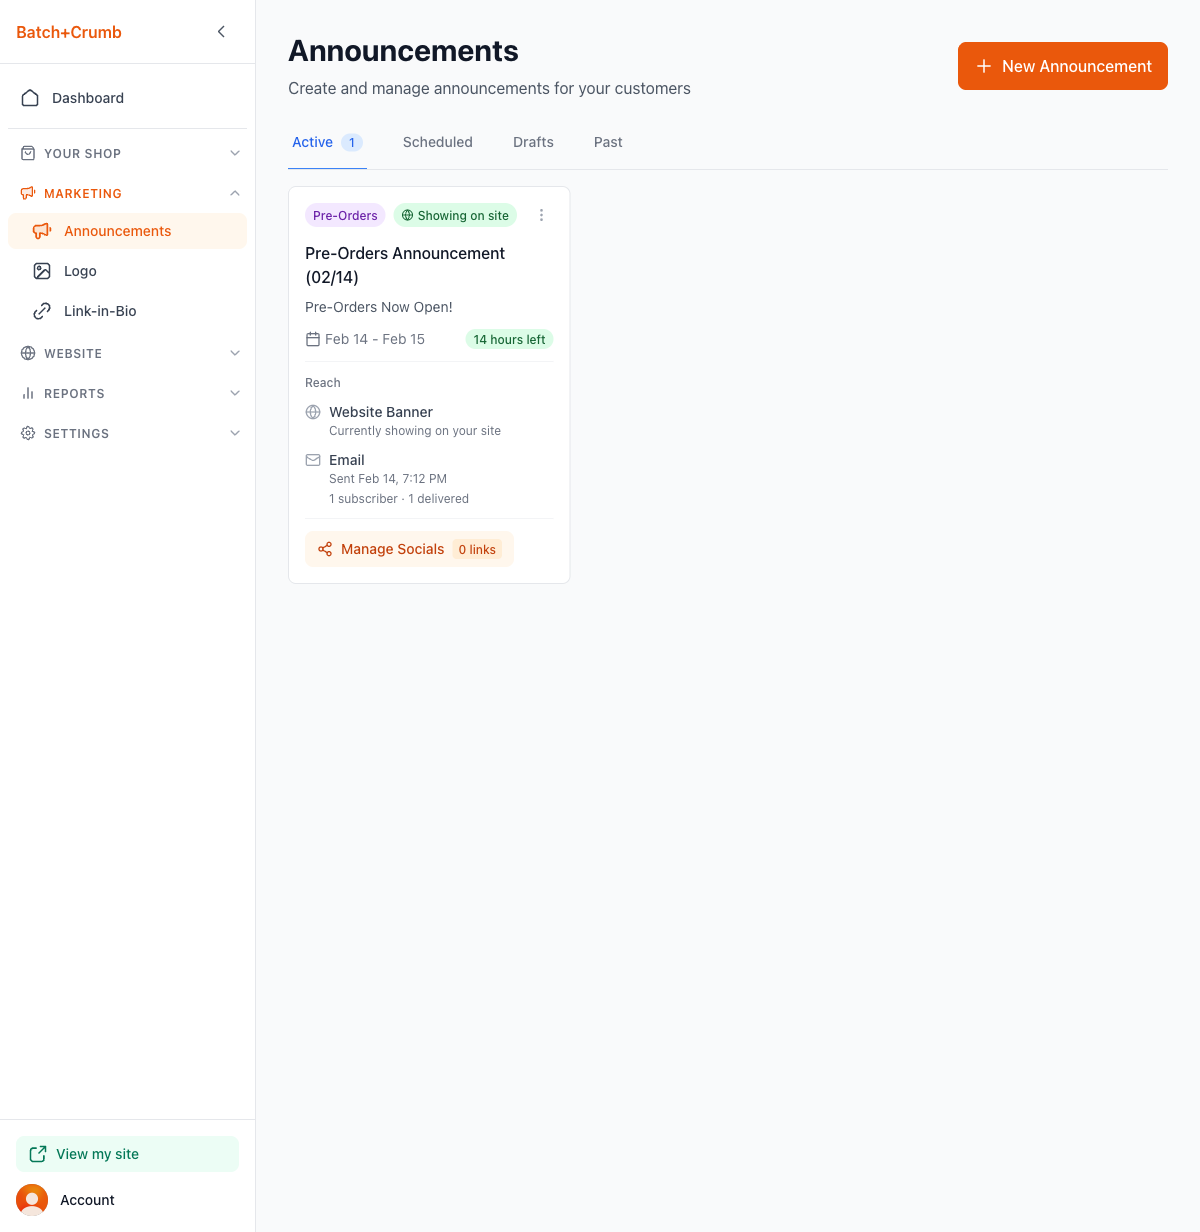
Managing active announcements
Back on the Announcements page, your active announcement card shows:
- Type badge and status (e.g., "Showing on site")
- Date range with a countdown (e.g., "13 hours left")
- Reach section — shows which channels are active, when emails were sent, and delivery stats
- Manage Socials — create shareable links for Facebook, Instagram, Nextdoor, and more with click tracking
Use the three-dot menu on the announcement card to edit or manage your announcement.
Tips
- Start with the auto-generated content and tweak it — Batch52 writes a solid first draft based on your announcement type and dates
- Always send yourself a test email before going live to make sure everything looks right
- Schedule announcements in advance so you don't have to remember to publish on bake day morning
- Your banner automatically disappears after the pickup/delivery date, so you don't need to take it down manually
- Use the Manage Socials button to create shareable links you can post on your social media for extra reach