Add a Product
Learn how to add a new product to your shop so customers can browse and order your baked goods.
Learn how to add a new product to your shop so customers can browse and order your baked goods.
Overview
Your products are the heart of your Batch52 shop. Each product can have a name, description, photo, price, and a call-to-action button that lets customers add it to their cart, contact you for more info, or buy it directly. Adding a product takes just a couple of minutes.
Steps
1. Go to your Products page
Direct link: Open this page
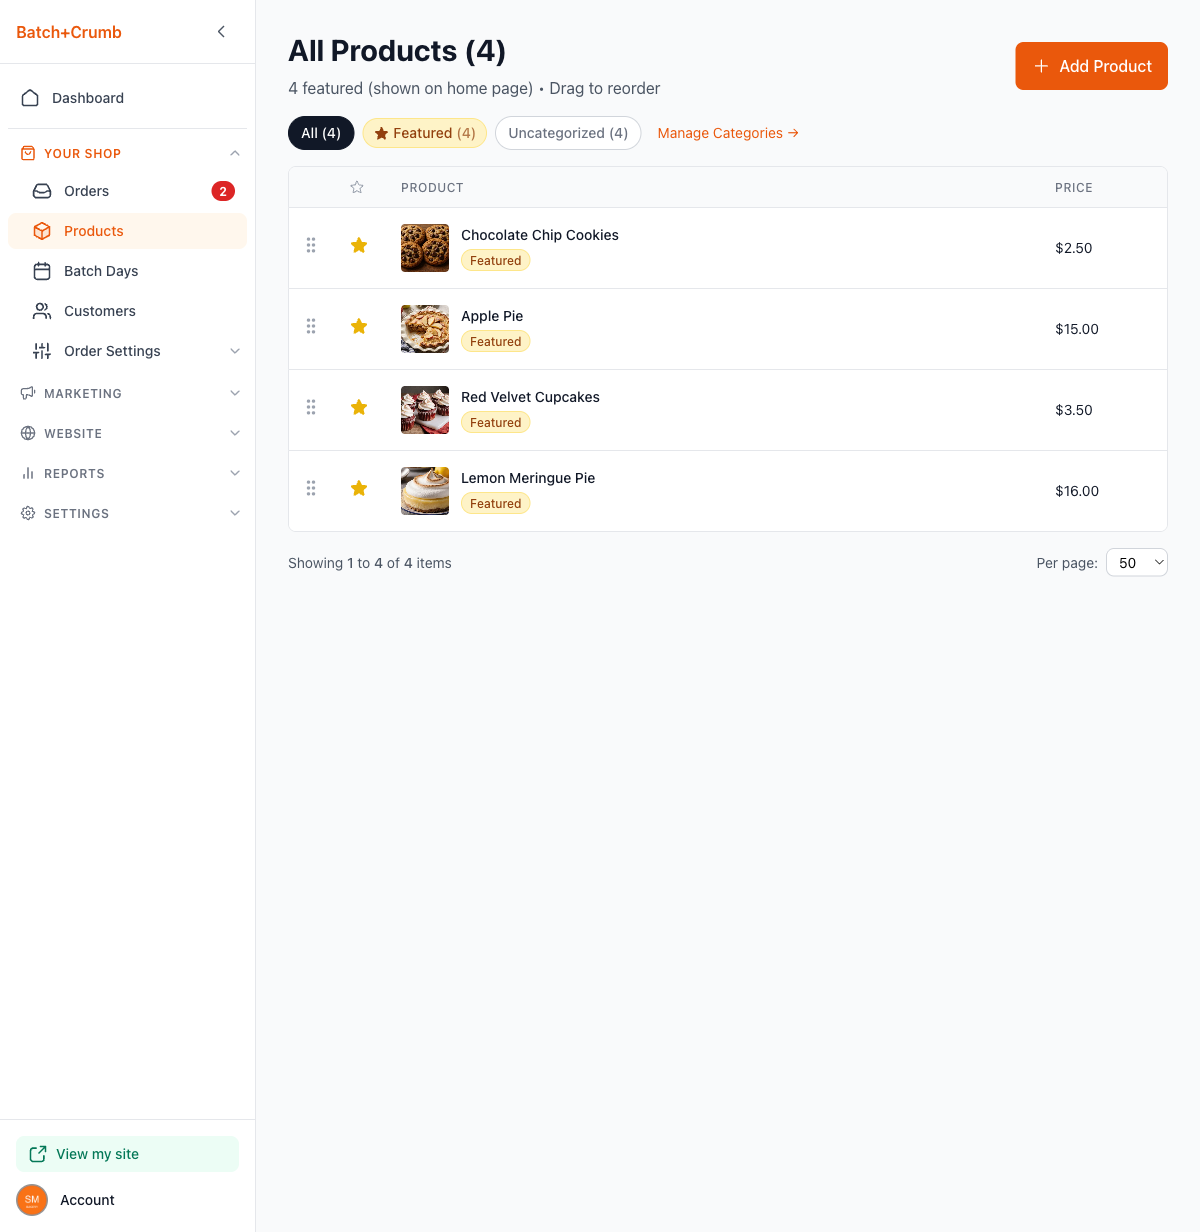
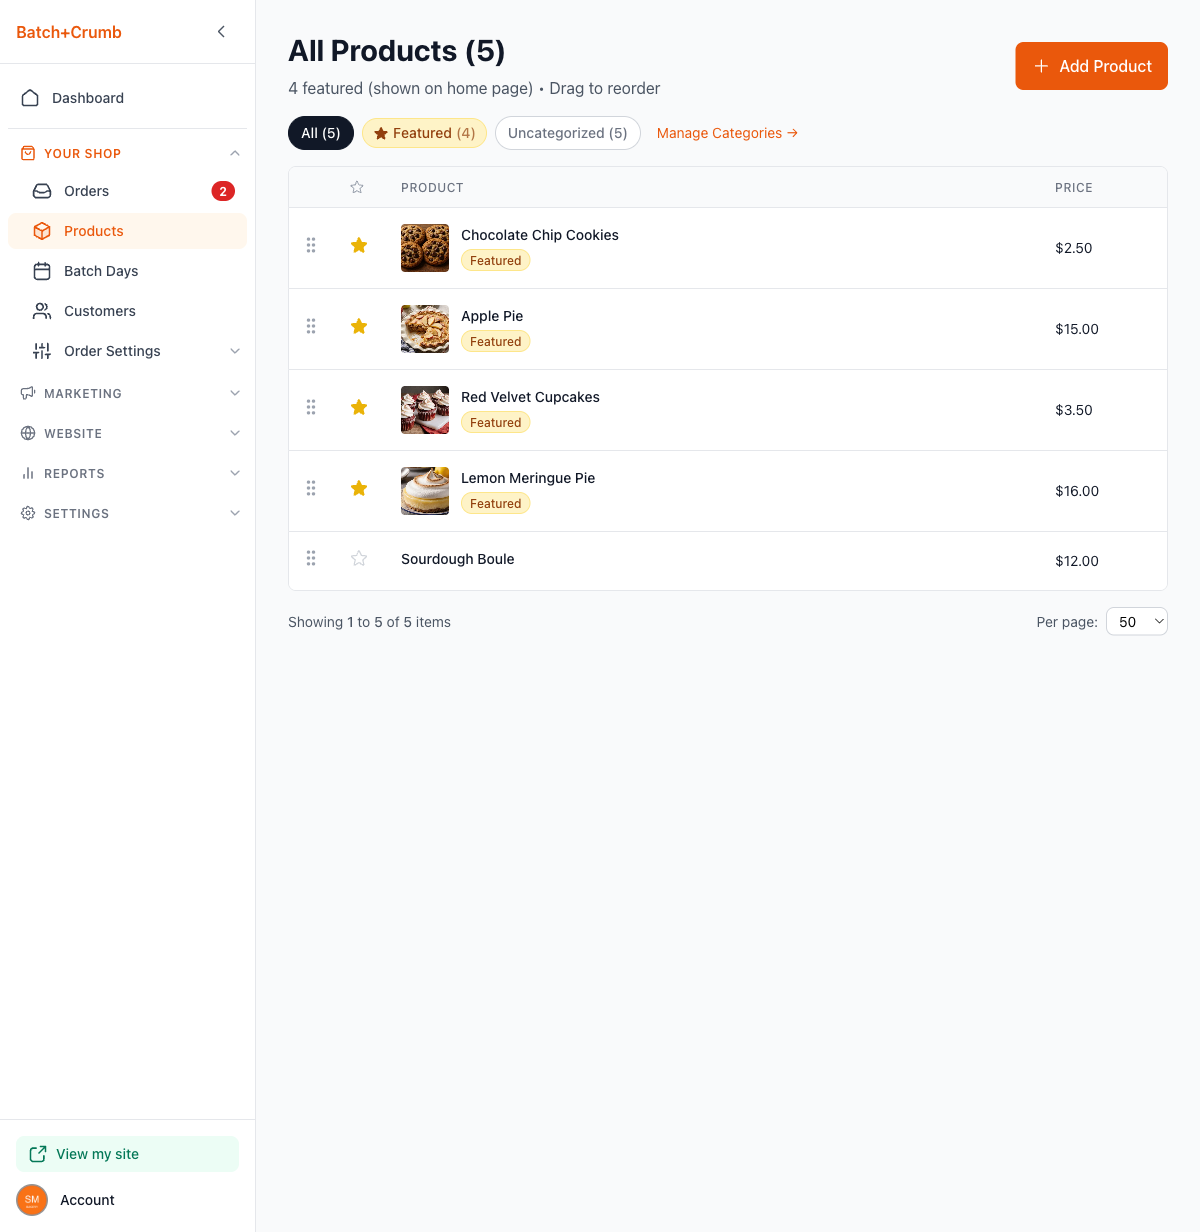
From the left sidebar, click Products under Your Shop. You'll see a list of all your current products.
2. Click "Add Product"
Click the orange + Add Product button in the top-right corner. This opens the product editor.
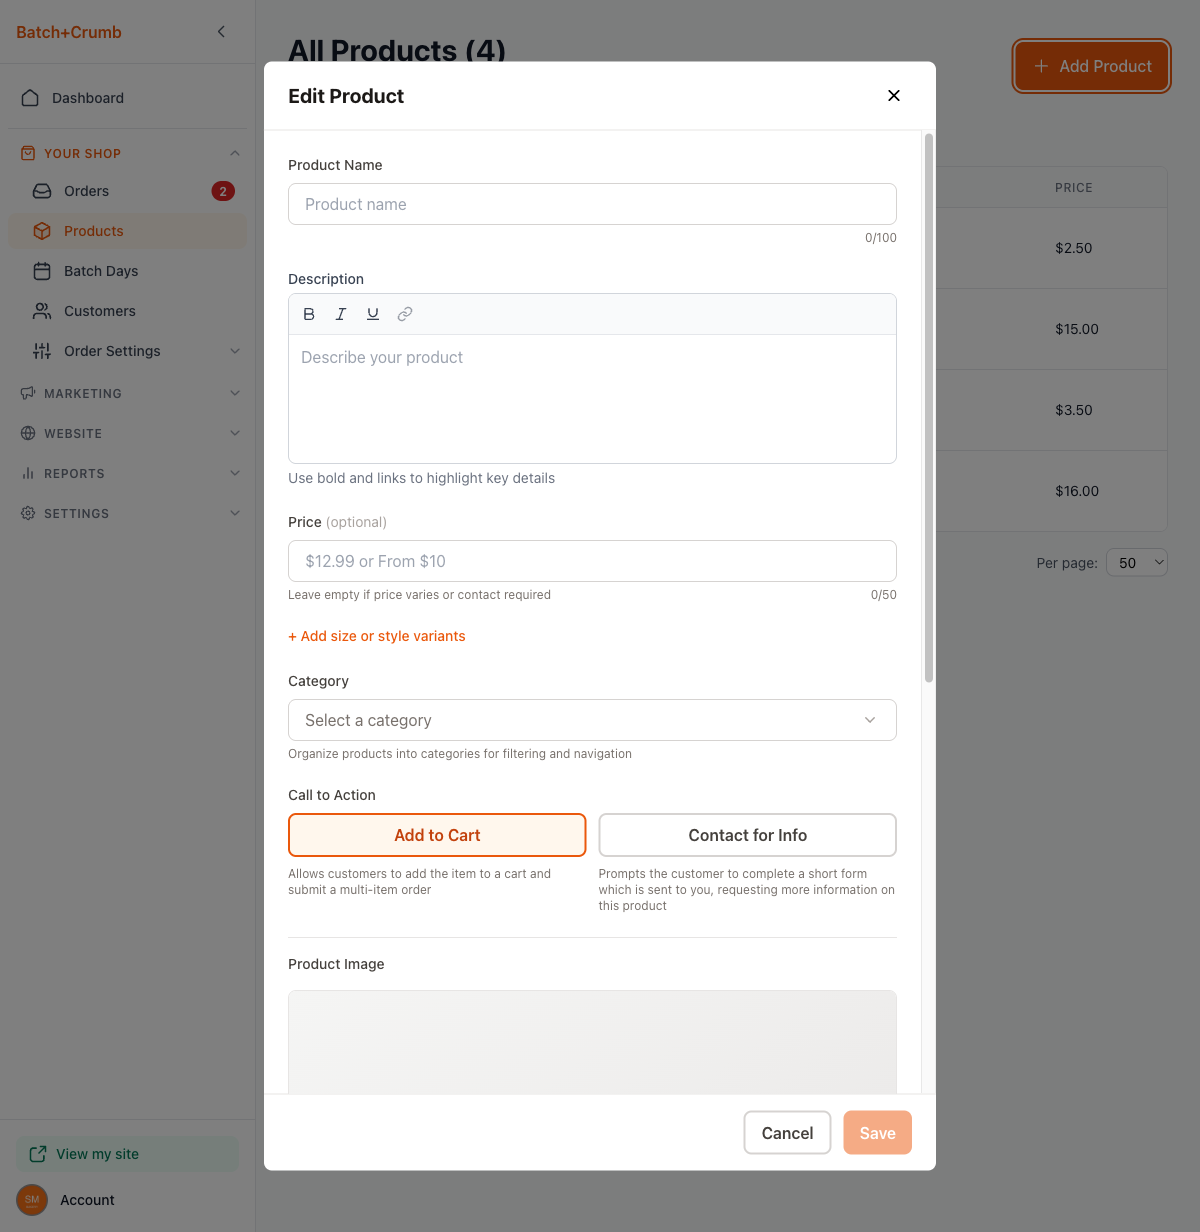
3. Fill in your product details
Here's what each field does:
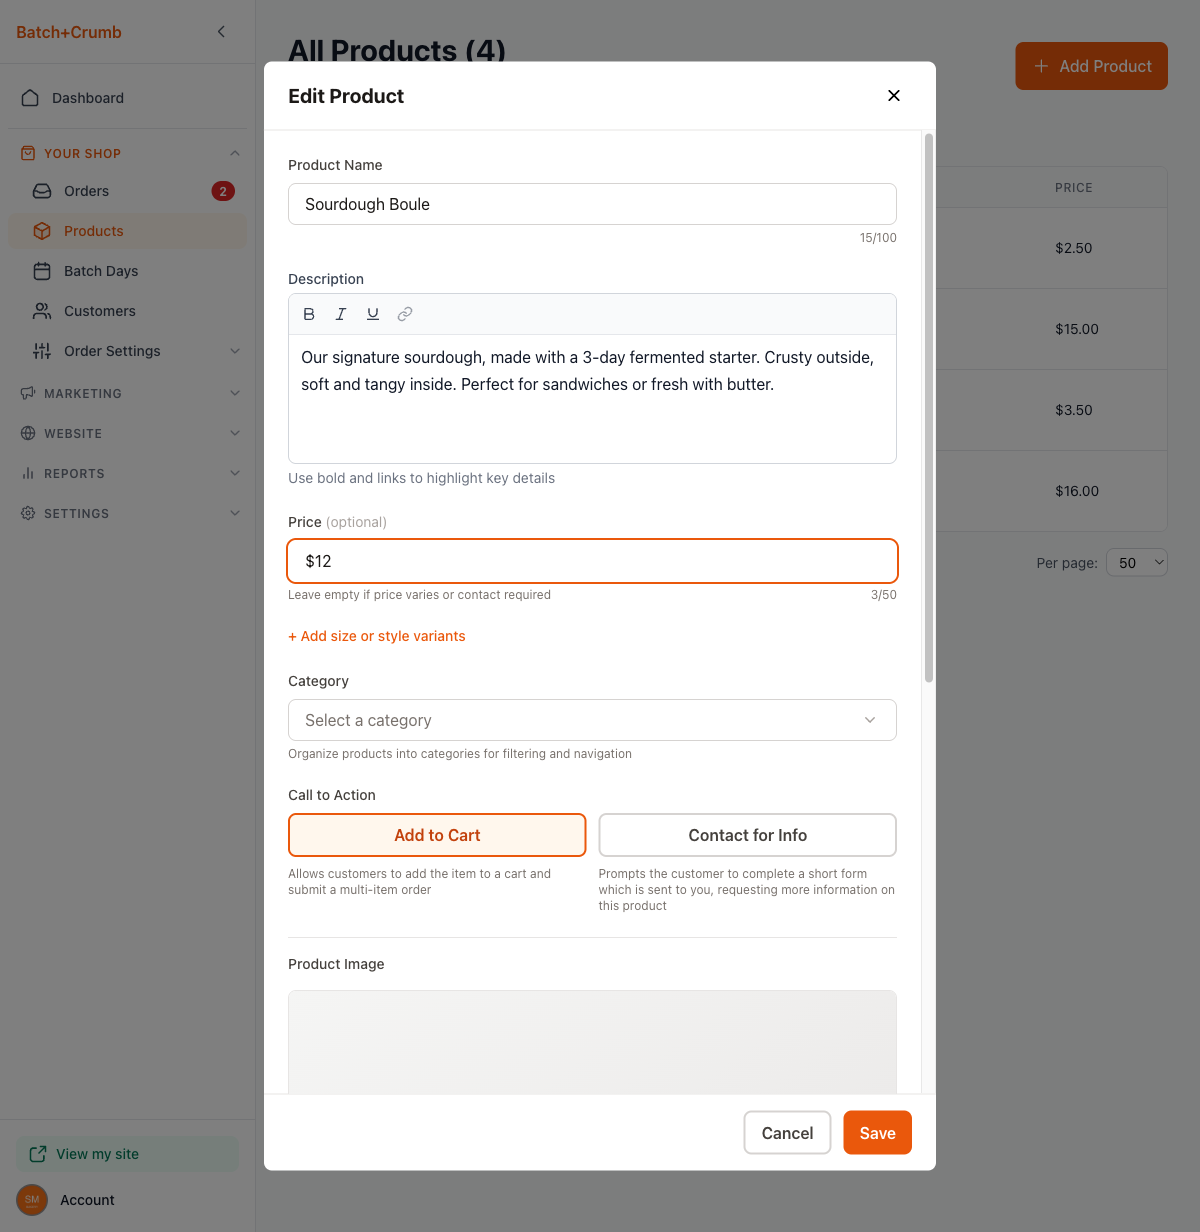
- Product Name — The name customers will see (up to 100 characters). Something clear and appetizing works best, like "Sourdough Boule" or "Chocolate Chip Cookies (dozen)."
- Description — Tell customers what makes this product special. You can use bold, italic, and underline formatting, plus add links. A couple of sentences is plenty.
- Price (optional) — Enter a fixed price like
$12or a range likeFrom $10. If your pricing depends on size or flavor, you can leave this empty and use variants instead (see below).
4. Add variants (optional)
If your product comes in different sizes or styles — like a half dozen vs. a full dozen — click + Add size or style variants. For each variant you can set:
- Name — e.g., "Half Dozen" or "Large"
- Price — the price for that specific variant
- Qty/order — how many per order
- Available — toggle on or off if a variant is temporarily unavailable
You can add as many variants as you need.
5. Choose a category (optional)
Click the Category dropdown to assign your product to a category. Categories help customers filter and find products on your shop. If you haven't created any categories yet, you can select Create new category right from the dropdown, or manage them later from Website > Categories.
6. Pick your Call to Action
This controls what button customers see on your product. The three options are displayed as stacked radio cards — just tap the one you want:
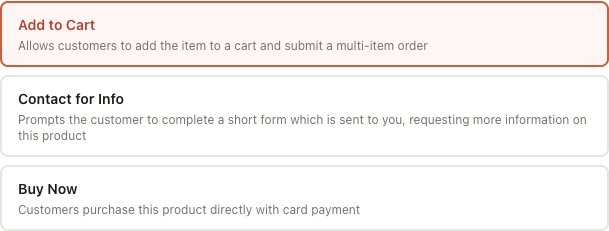
- Add to Cart (default) — Customers can add this item to their cart and place a multi-item order. Best for products with a set price that are ready to sell.
- Contact for Info — Customers fill out a short form to ask about this product. Great for custom orders, seasonal items, or anything where you want to chat with the customer first.
- Buy Now — Customers can purchase the product directly with a card payment on a dedicated buy page — no cart involved. This option only appears if you've connected Stripe in your Payment Settings. If Stripe isn't connected yet, you'll see this option grayed out with a "Requires Stripe" note.
7. Add product images (optional)
You can add multiple photos to each product. The first image you add becomes the Primary image — that's the one customers see first on your shop.
To add an image, click the Add button under Product Images. This opens the Media selector, where you can:
- My assets — Choose from images you've already uploaded
- Images — Browse a built-in library of free stock photos
- Upload — Upload a new photo from your device
Select an image and click Done to add it. You can keep clicking Add to include more photos — customers will be able to swipe through them on your product page.
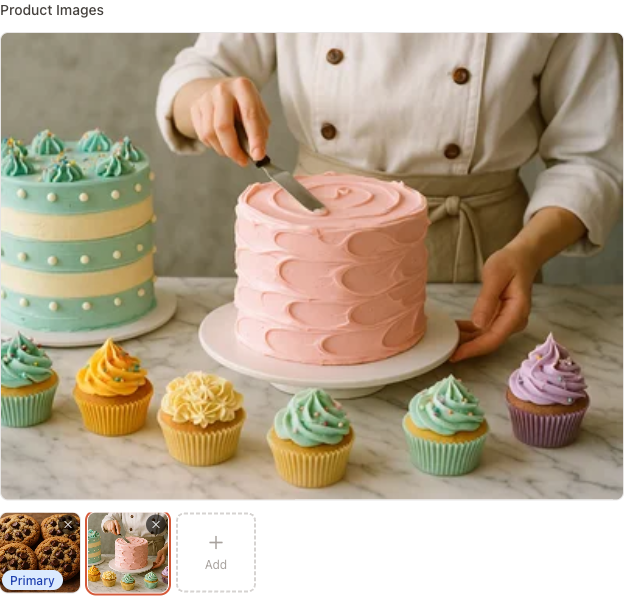
To remove an image, click the × on its thumbnail. The first image in the row is always your Primary image — that's the main photo shown in your product list and shop.
8. Set your toggles
Scroll down to find these options:
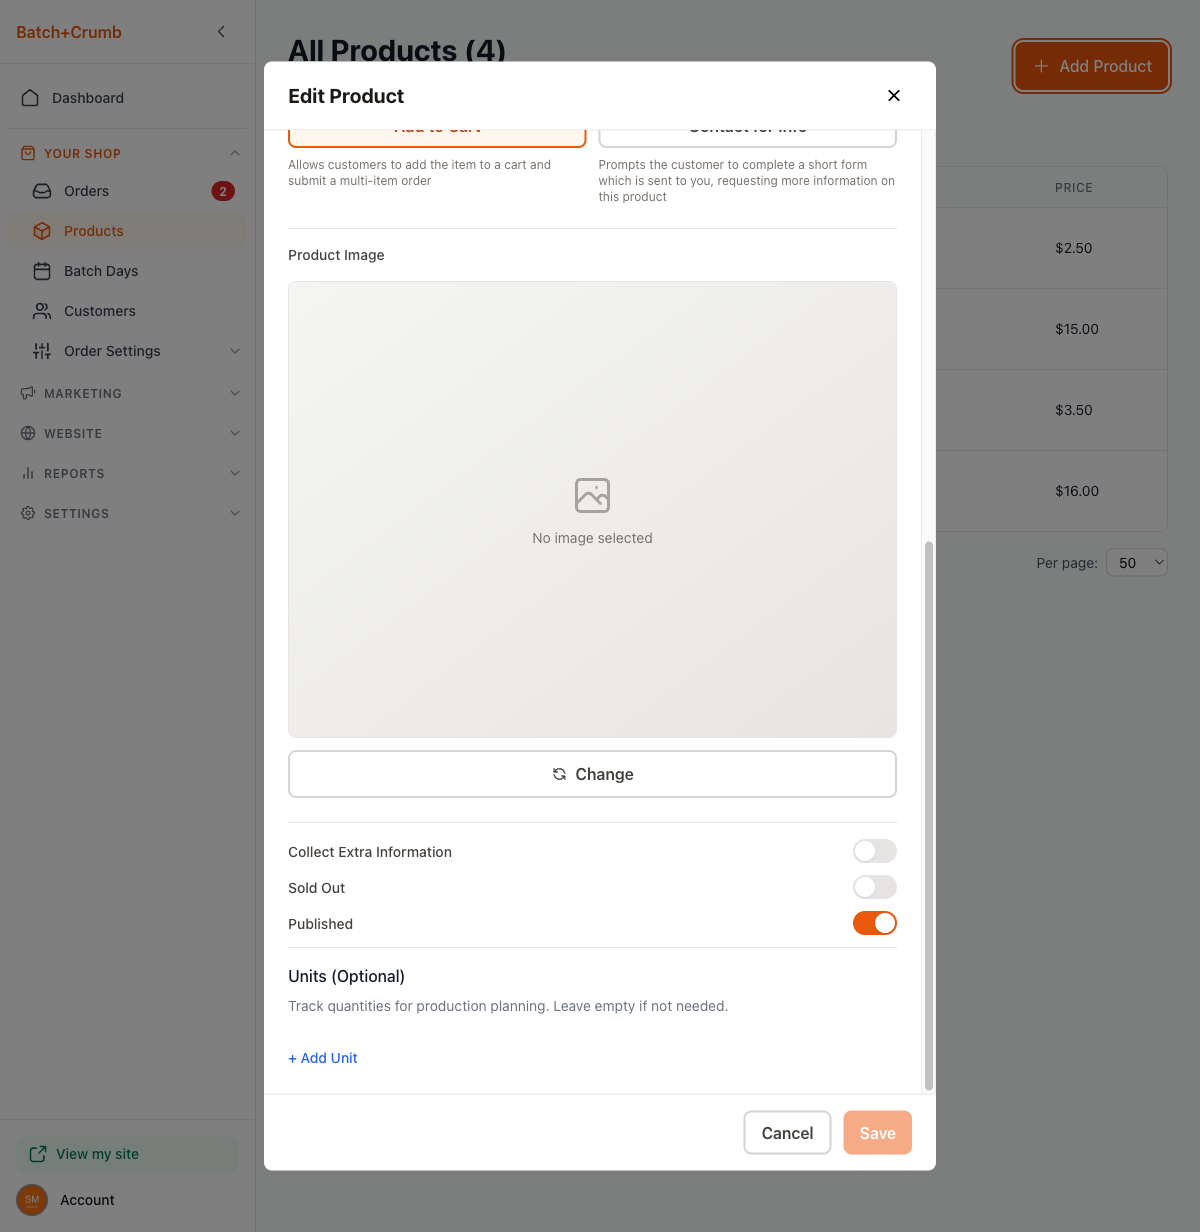
- Collect Extra Information — When turned on, customers see an extra text field during checkout where they can add notes (like "no nuts" or "happy birthday message").
- Sold Out — Toggle this on to show the product as sold out. Customers can still see it but can't order it.
- Published — This is on by default. Turn it off to hide the product from your shop while you're still working on it.
- Units (Optional) — If you want to track quantities for production planning, click + Add Unit to set up unit tracking. Most bakers can skip this.
9. Save your product
Click the orange Save button at the bottom. Your new product appears in the product list right away.
Tips
- You don't need to fill in every field to get started. A name and a call to action are all you need — you can always come back and add more details later.
- Products are Published by default, so they'll show up on your shop as soon as you save. If you're not ready to show a product yet, toggle Published off before saving.
- A good product photo really helps sales. Use natural lighting and keep the background simple.
- Use the Contact for Info call to action for custom cakes or items where you need to discuss details with the customer before taking an order.
- If you need to edit a product later, just click on it in the product list to reopen the editor.