Manage Product Categories
Learn how to create and organize categories so customers can easily browse your products.
Learn how to create and organize categories so customers can easily browse your products.
Overview
Categories help you group your products — like "Cookies," "Bread," and "Cakes" — so customers can quickly find what they're looking for. Each category gets its own page on your site and can appear in your site's navigation. You can create as many categories as you need, rename them anytime, and reorder them with drag-and-drop.
Steps
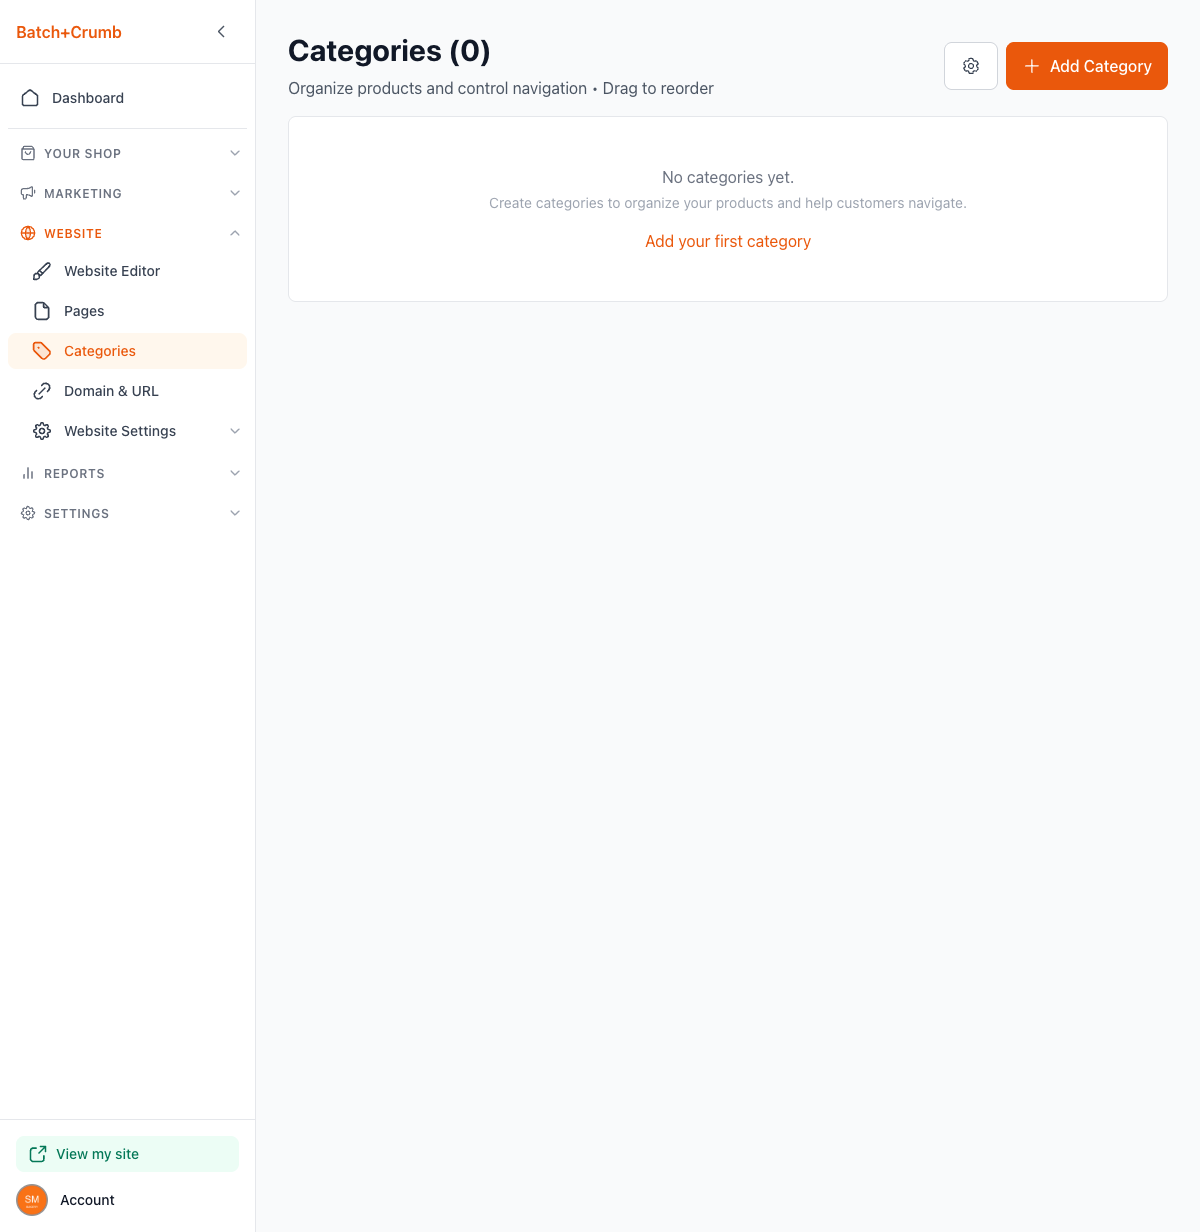
1. Go to the Categories page
Direct link: Open this page
From the left sidebar, click Website, then click Categories. If you haven't created any categories yet, you'll see an empty state with an invitation to add your first one.
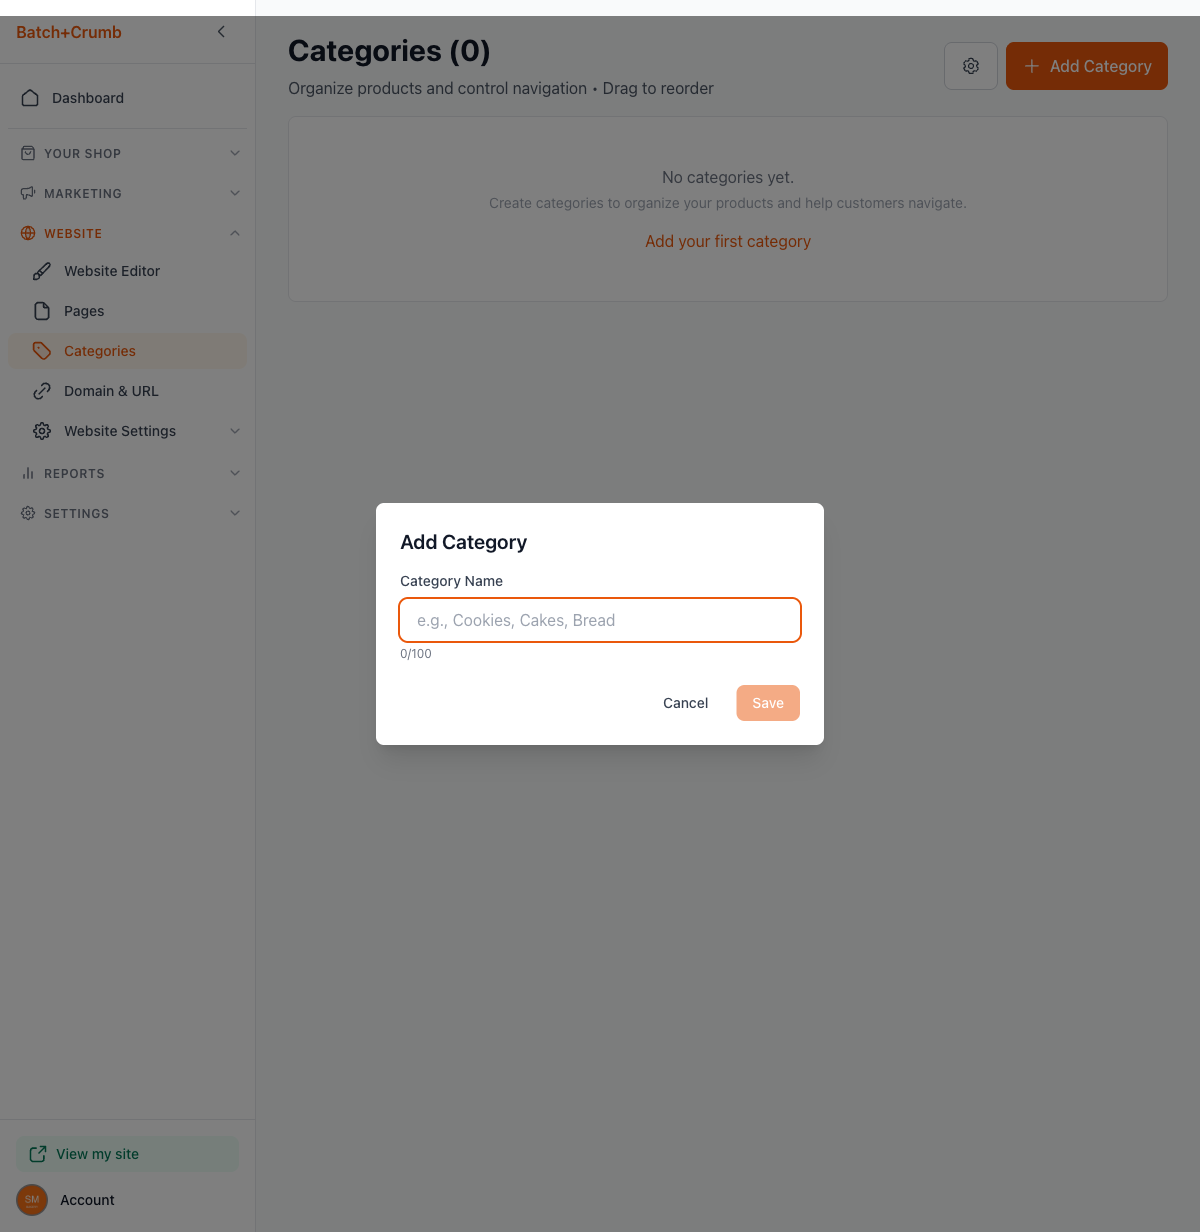
2. Create a category
Click the orange + Add Category button in the top-right corner (or the Add your first category link if your list is empty). A small modal pops up with one field:
- Category Name — Type a clear, simple name like "Cookies" or "Bread" (up to 100 characters).
The Save button stays grayed out until you type a name.
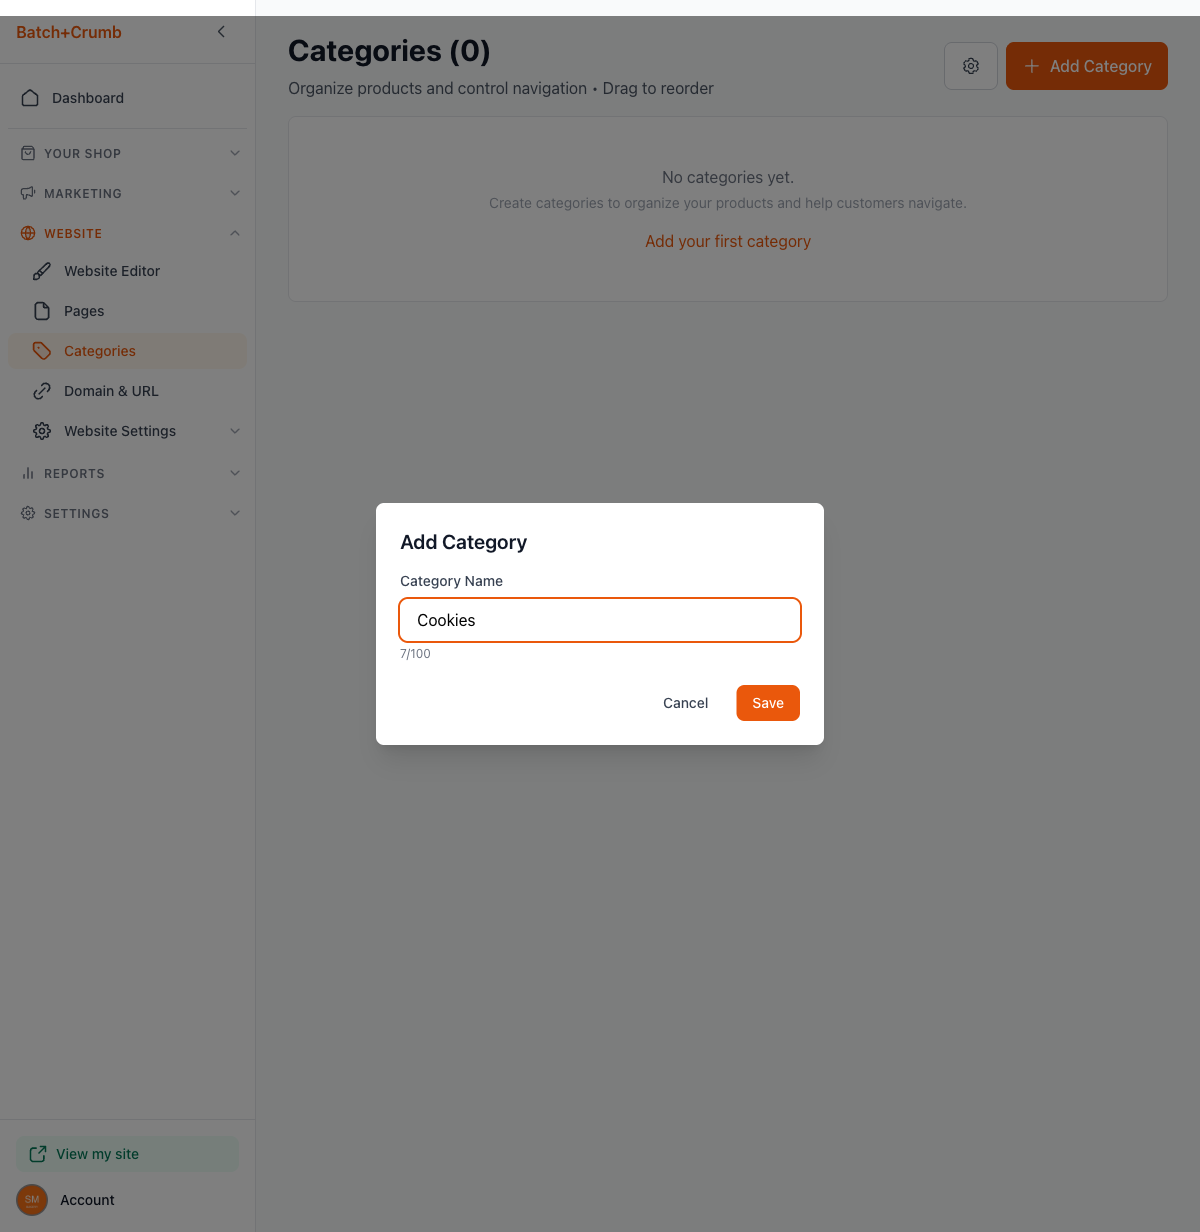
Click Save and your new category appears in the list right away.
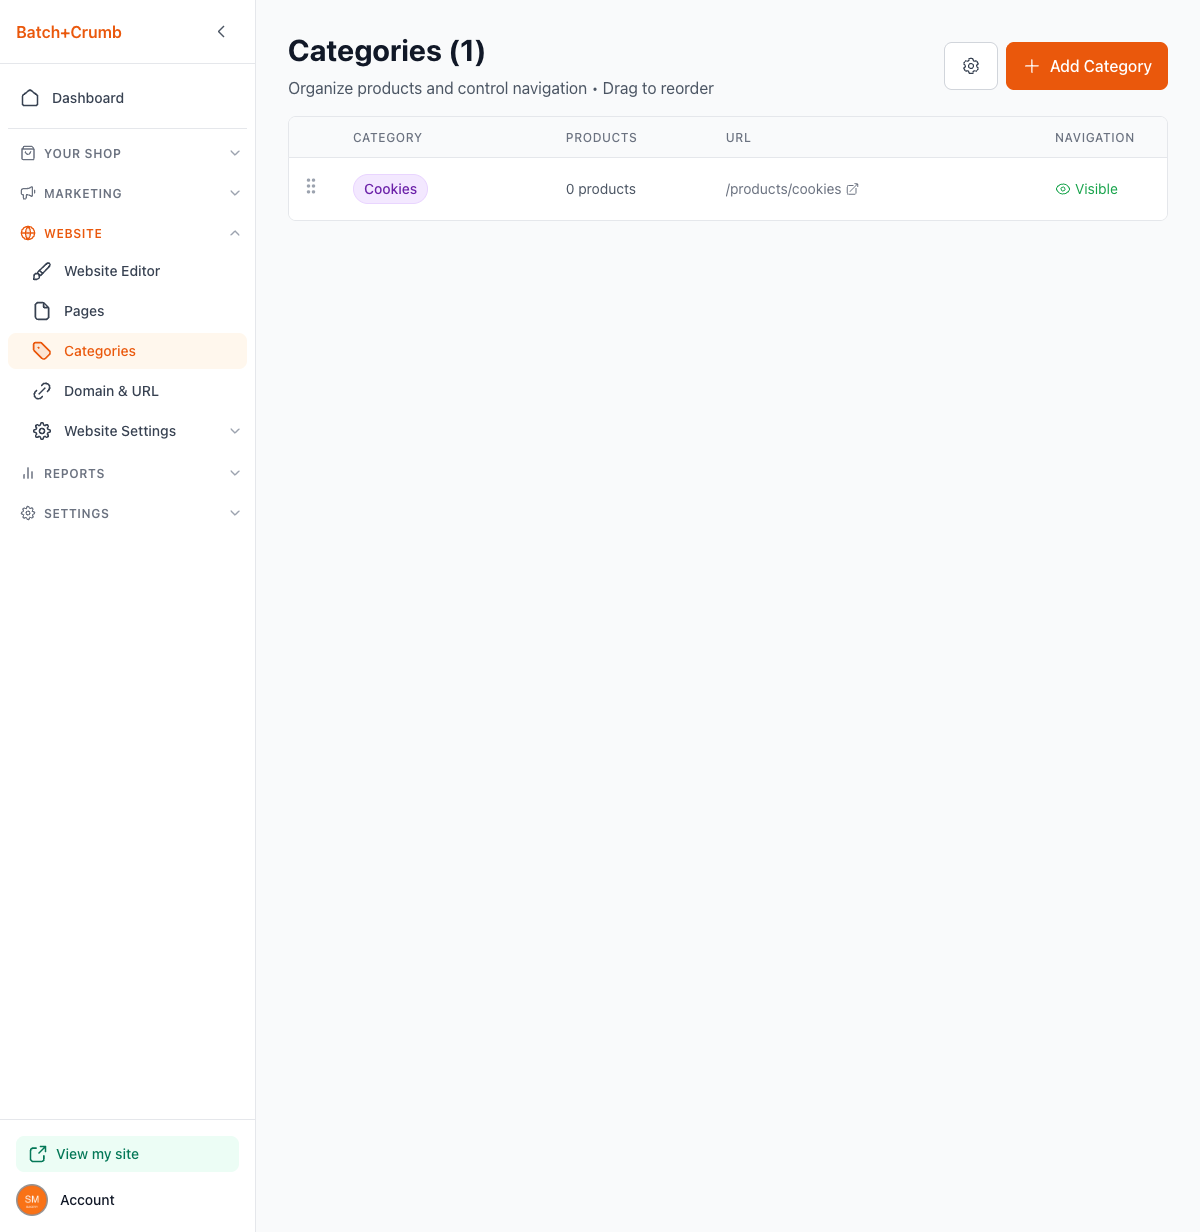
3. Understand the category list
Each row in your category list shows:
- Category — The category name in a colored badge
- Products — How many products are assigned to this category
- URL — The auto-generated link to the category page on your public site (e.g.,
/products/cookies) - Navigation — Whether the category shows up in your site's navigation menu

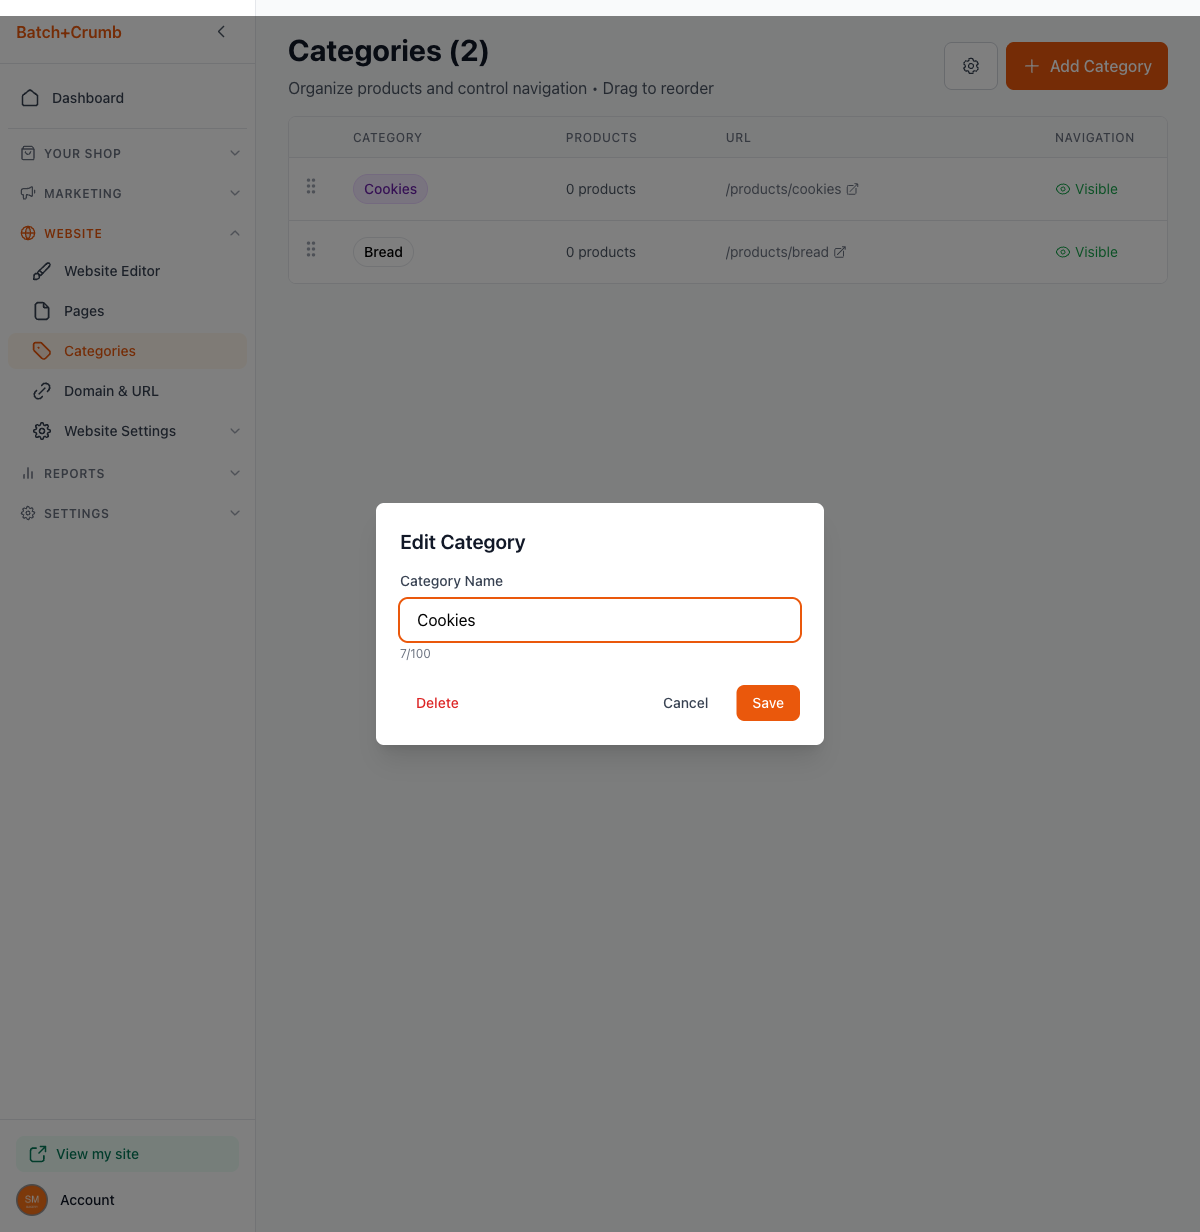
4. Edit or rename a category
Click on any category row to open the Edit Category modal. Change the name and click Save.
5. Show or hide a category in navigation
Each category has a Visible / Hidden toggle in the Navigation column. Click it to switch between the two:
- Visible (eye icon) — The category appears in your site's navigation menu so customers can browse to it.
- Hidden (eye-slash icon) — The category still exists and products stay assigned to it, but it won't show up in your navigation.
This is handy if you want to organize products into a category without featuring it in your menu yet.

6. Reorder categories
Drag the grip handle (the six dots on the left side of each row) to rearrange your categories. The order here controls how they appear on your site's navigation and category carousel.
7. Delete a category
Open the Edit Category modal by clicking a category row, then click the red Delete button. You'll see a warning telling you how many products will become uncategorized. Click Confirm Delete to remove it.
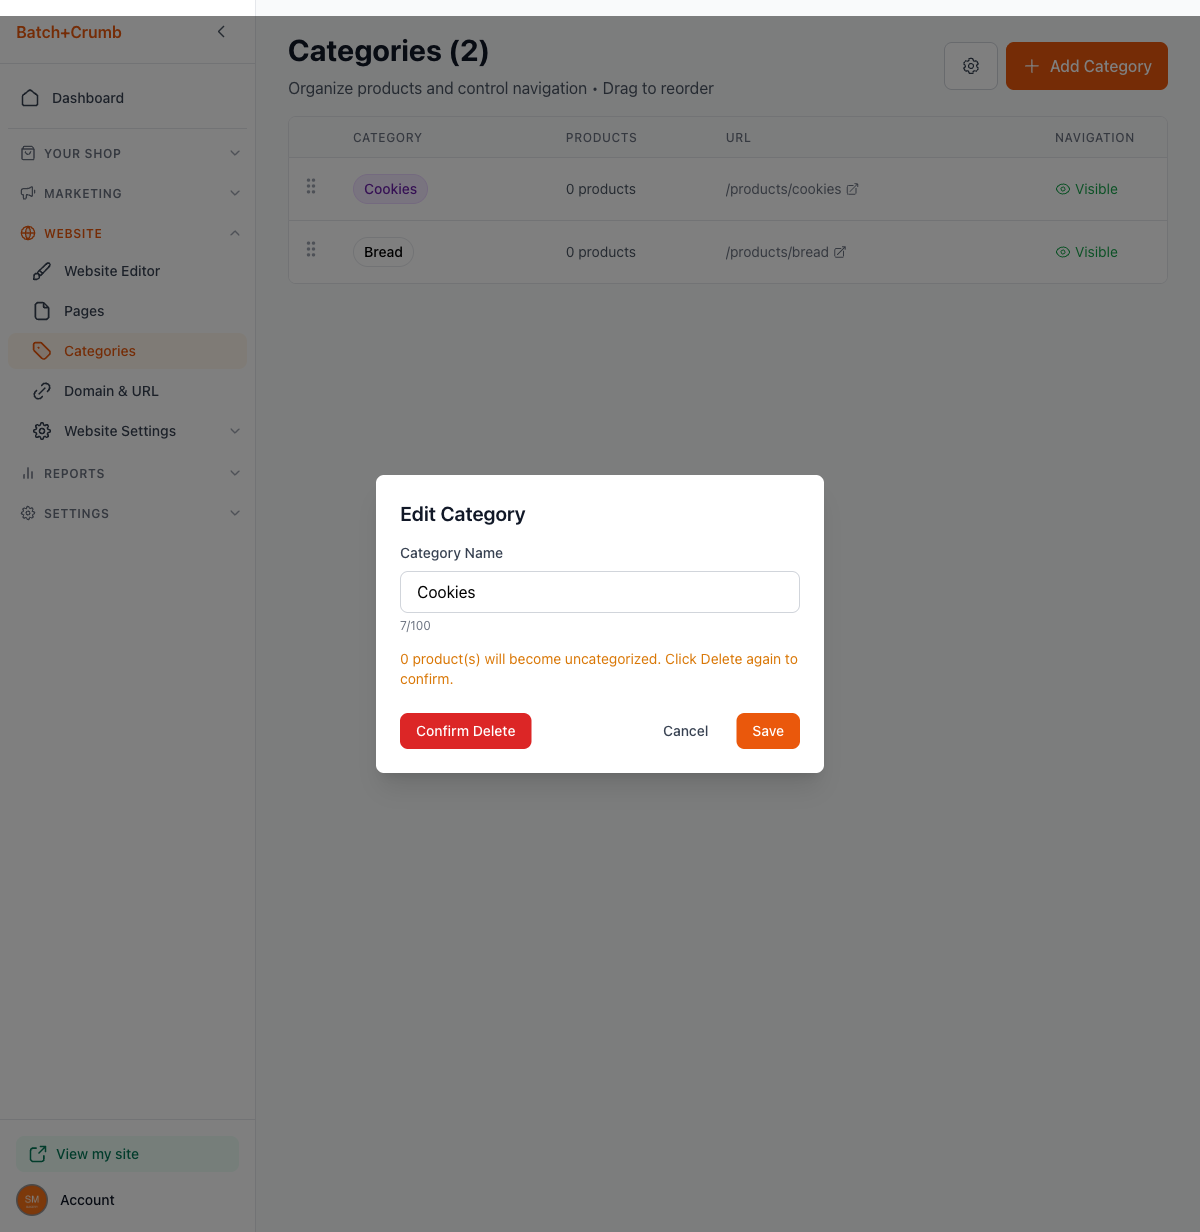
Deleting a category doesn't delete any products — they just become uncategorized.
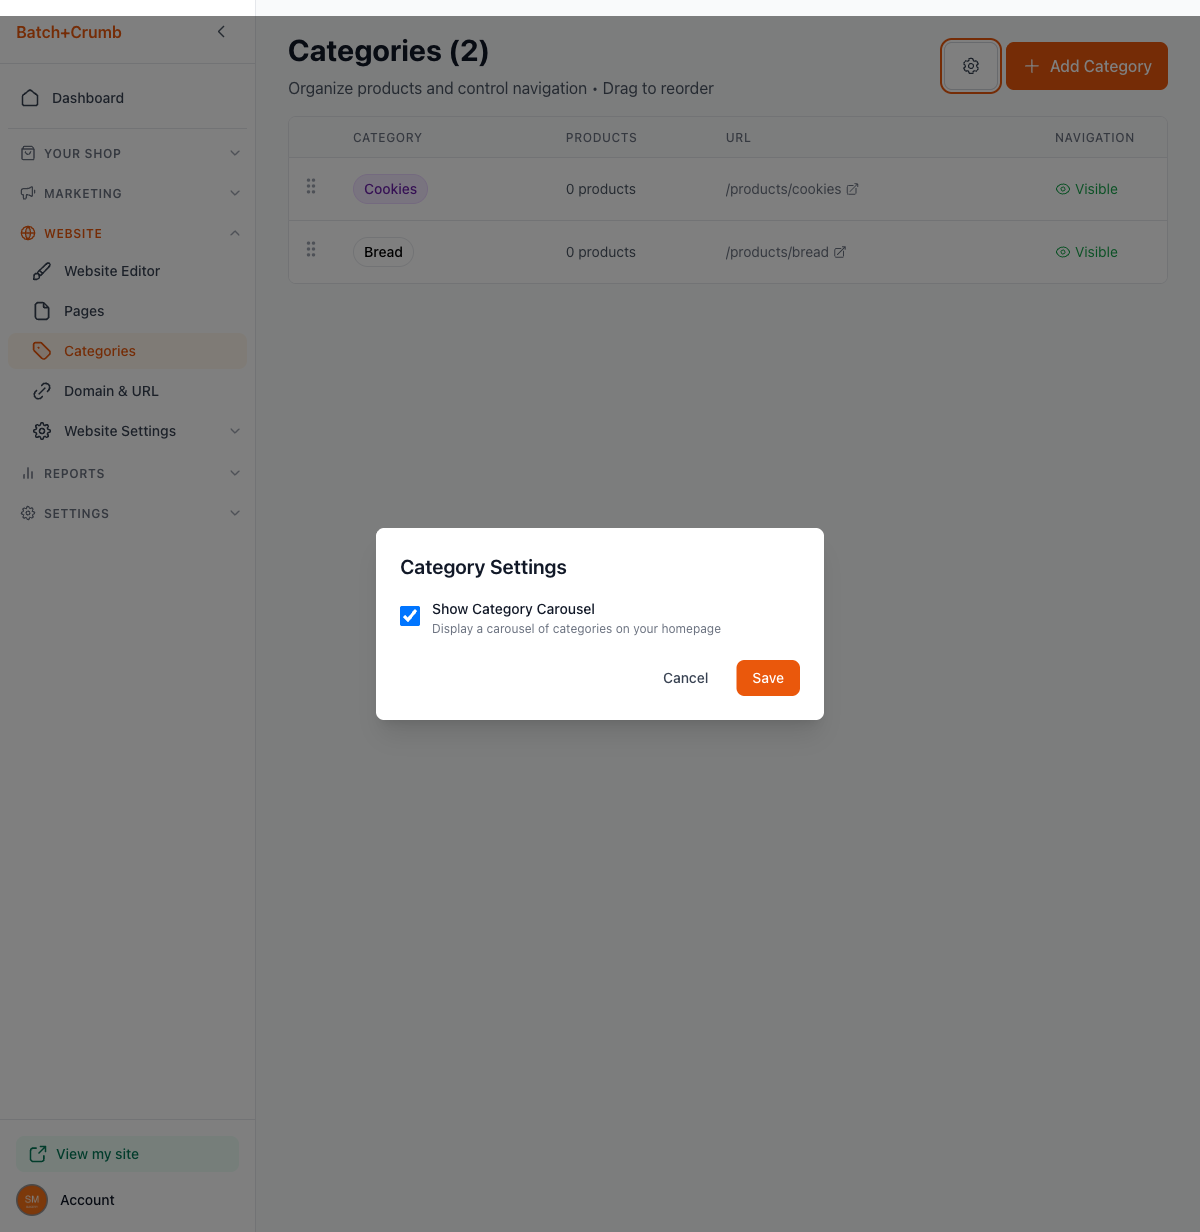
8. Adjust category settings
Click the gear icon next to the + Add Category button to open Category Settings. Here you'll find:
- Show Category Carousel — When checked, your homepage displays a scrollable carousel of your categories so customers can jump straight to what they want.
Tips
- Keep category names short and clear — think about what your customers would search for at a farmer's market.
- You can also assign a product to a category right from the product editor. Just pick a category from the Category dropdown when adding or editing a product.
- If you're not sure how to organize things yet, start with two or three broad categories. You can always add more later.
- Hidden categories are great for seasonal items — set up a "Holiday Specials" category ahead of time and make it visible when you're ready.